Migration from Passwords (Apple) to Vaultwarden

I used to store and autofill my passwords using Apple's default application: Passwords. This application allows me to synchronize my passwords across my devices and is quite good. However, there are some drawbacks to using this application:
- If you are using a non-Apple device, you can't retrieve your passwords.
- All your sensitive data is stored in the cloud, and you don't really have control over it.
Therefore, I will explain how I set up Vaultwarden for my password management.
Prerequisites
To achieve this, I use Proxmox as a hypervisor, which will host my Vaultwarden LXC container. In addition to Proxmox, I also need a domain name and a reverse proxy to link a public URL to my local IP address. For the reverse proxy, I personally use Caddy, which is also running in its own LXC container on Proxmox. This setup allows me to securely expose Vaultwarden to the web, while keeping the local network structure intact.
Installation of Vaultwarden LXC
To install the Vaultwarden LXC, I just run the script available on the Proxmox VE Helper Script:
bash -c "$(wget -qLO - https://github.com/community-scripts/ProxmoxVE/raw/main/ct/vaultwarden.sh)"
Once you've run this command on your host, a new window for an interactive installation of the LXC appears.
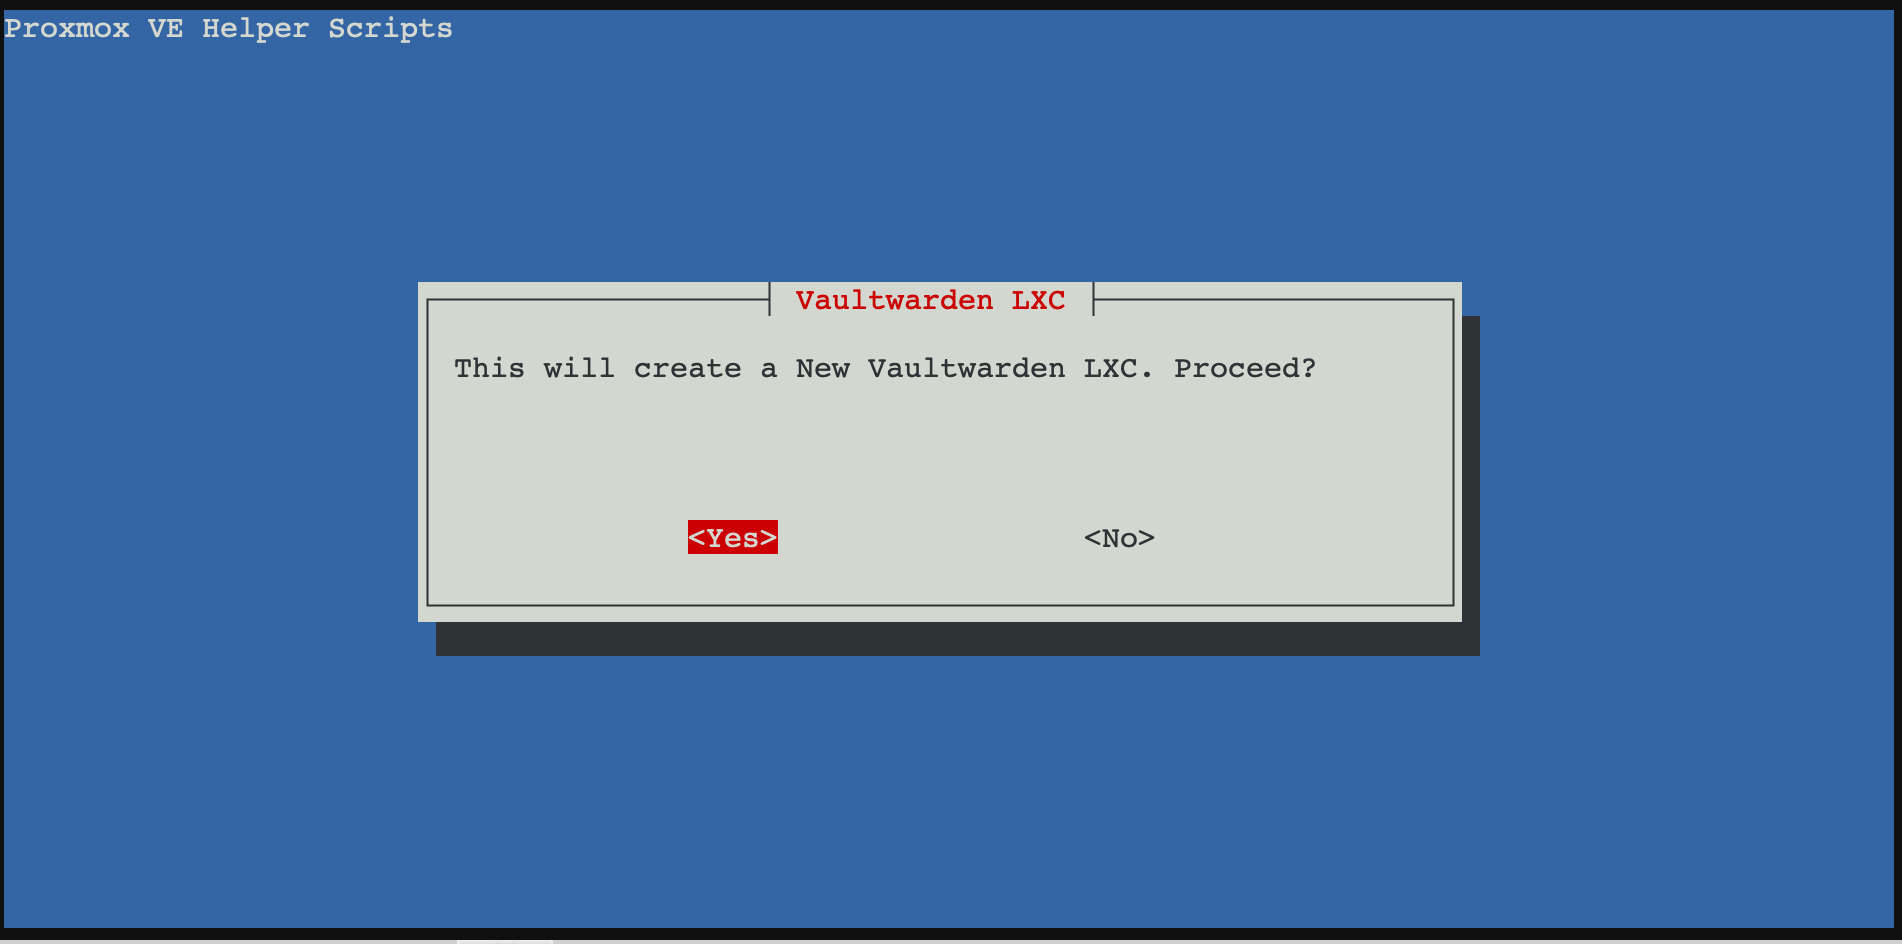
Create the Vaultwarden LXC and choose the advanced settings to configure it.
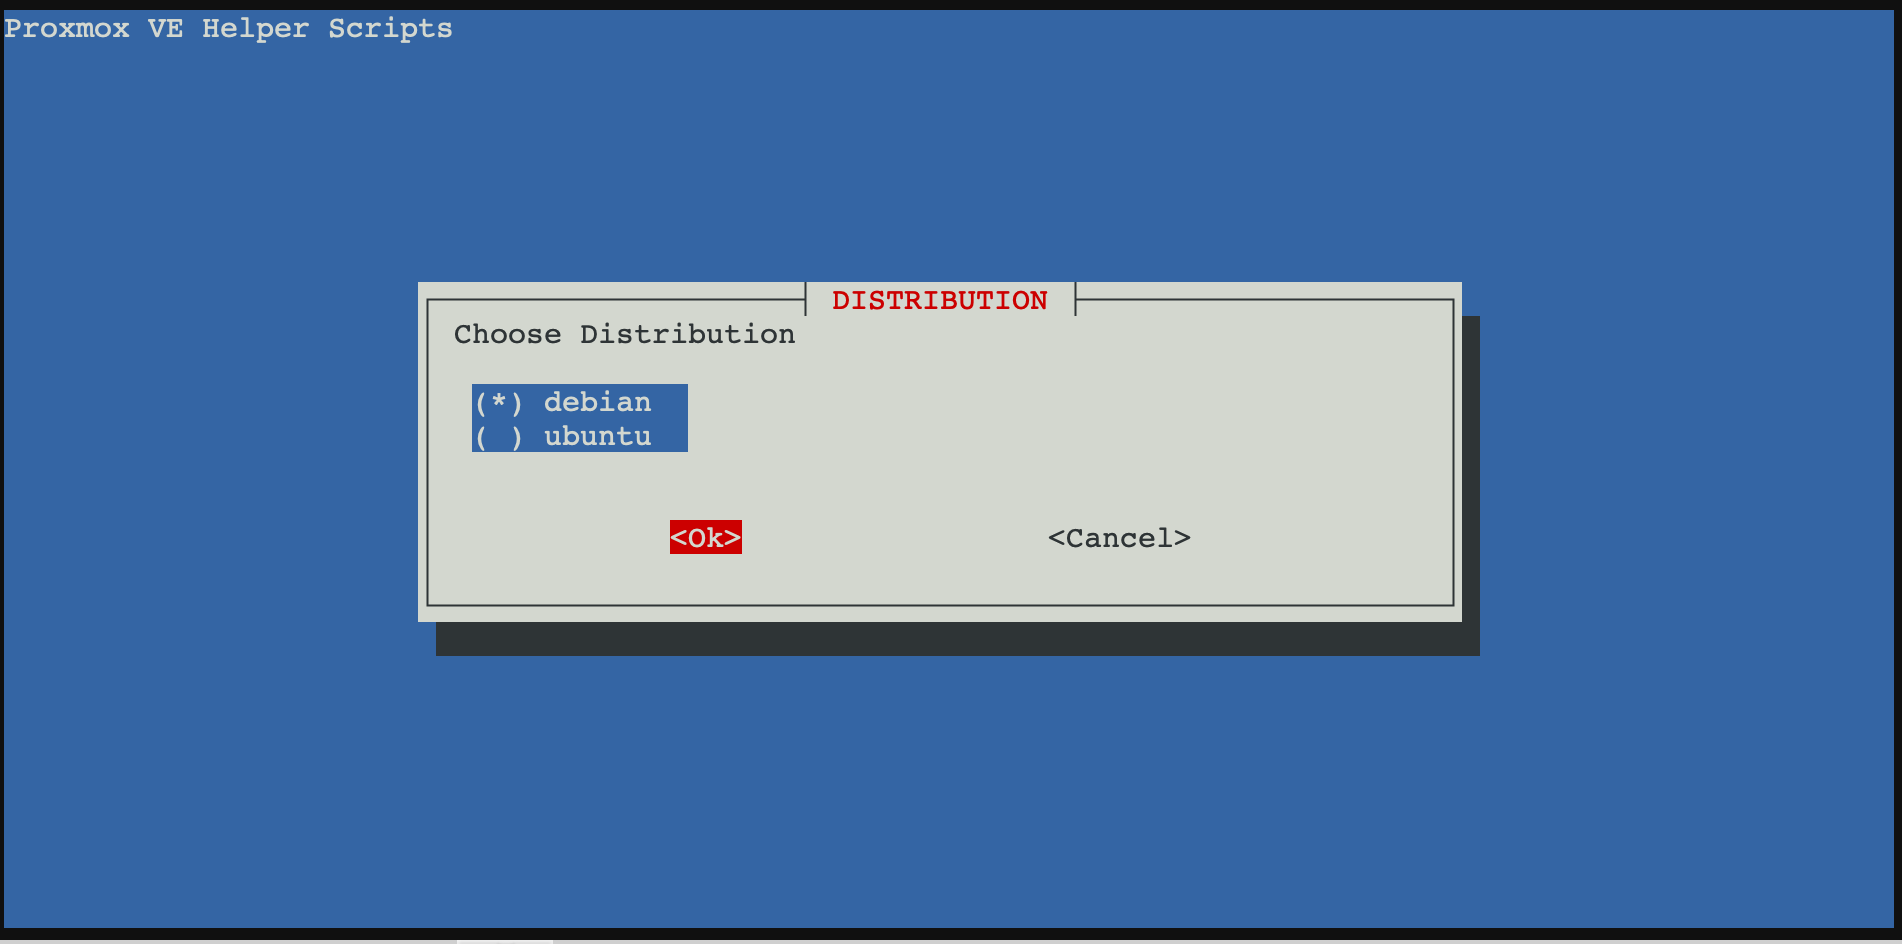

Select Debian 12 (Bookworm).
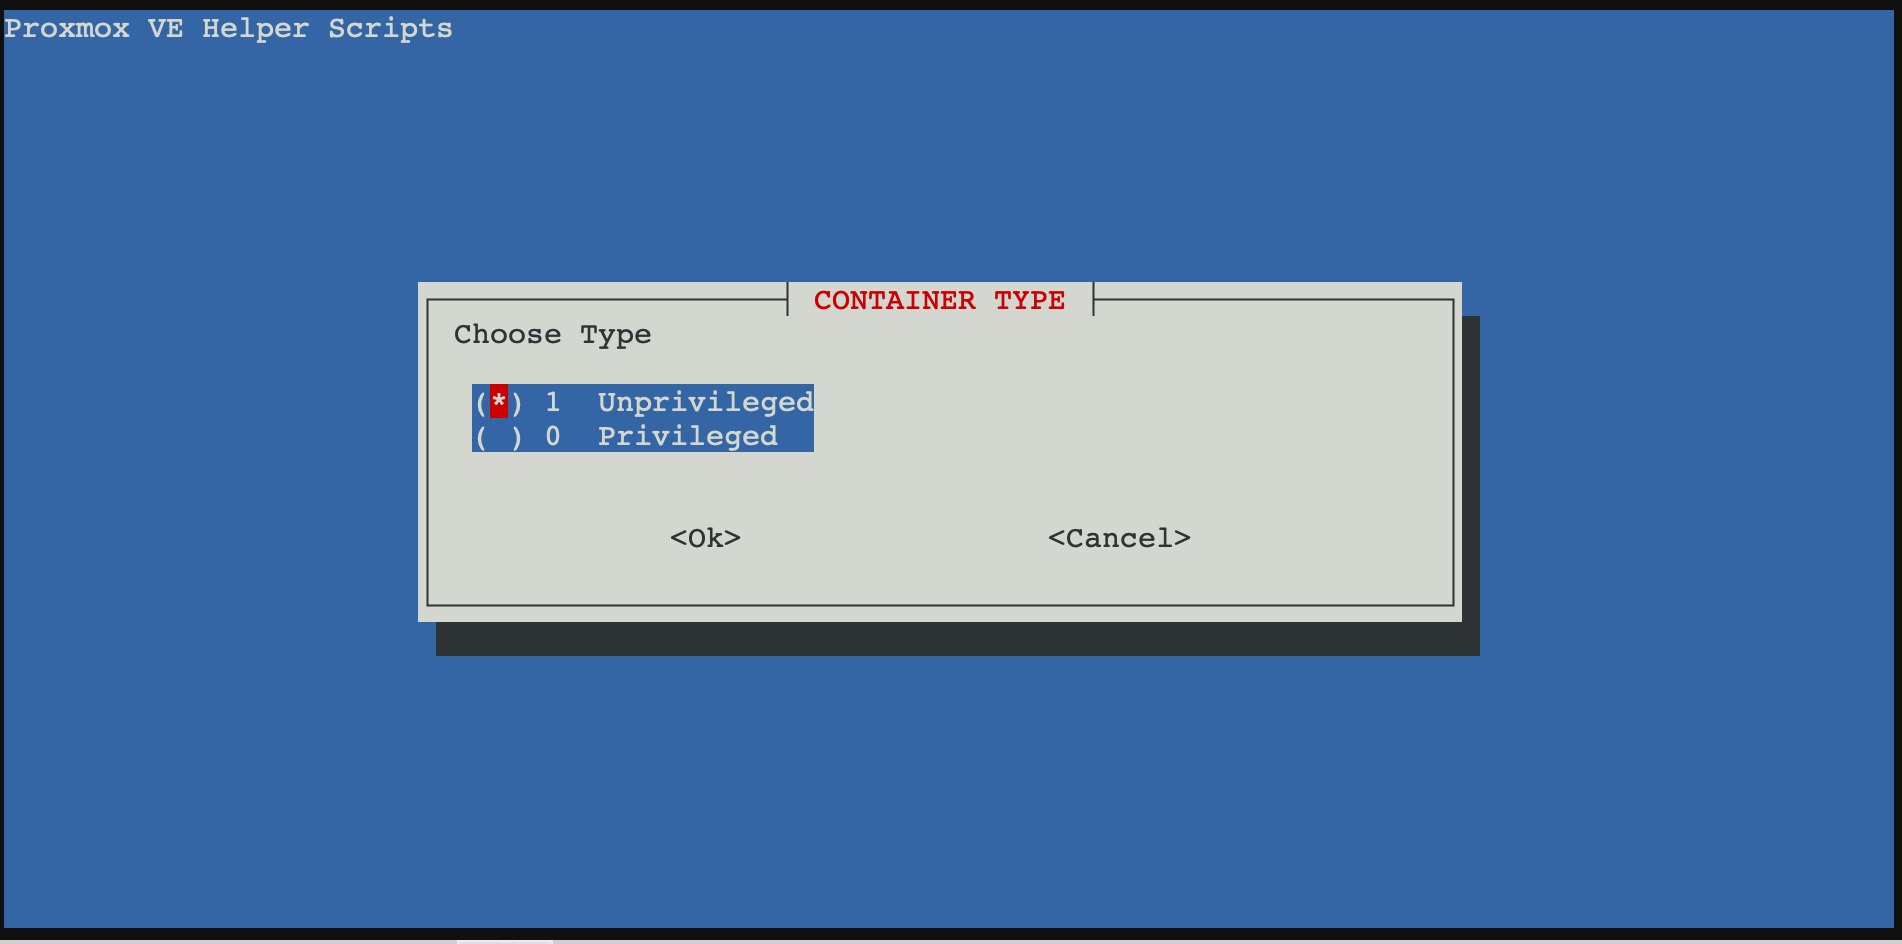

This LXC doesn't need privileges, so you can let Unprivileged. You can now choose a password for the container. This is not mandatory but it is required if you want to be able to have an ssh access to your LXC.
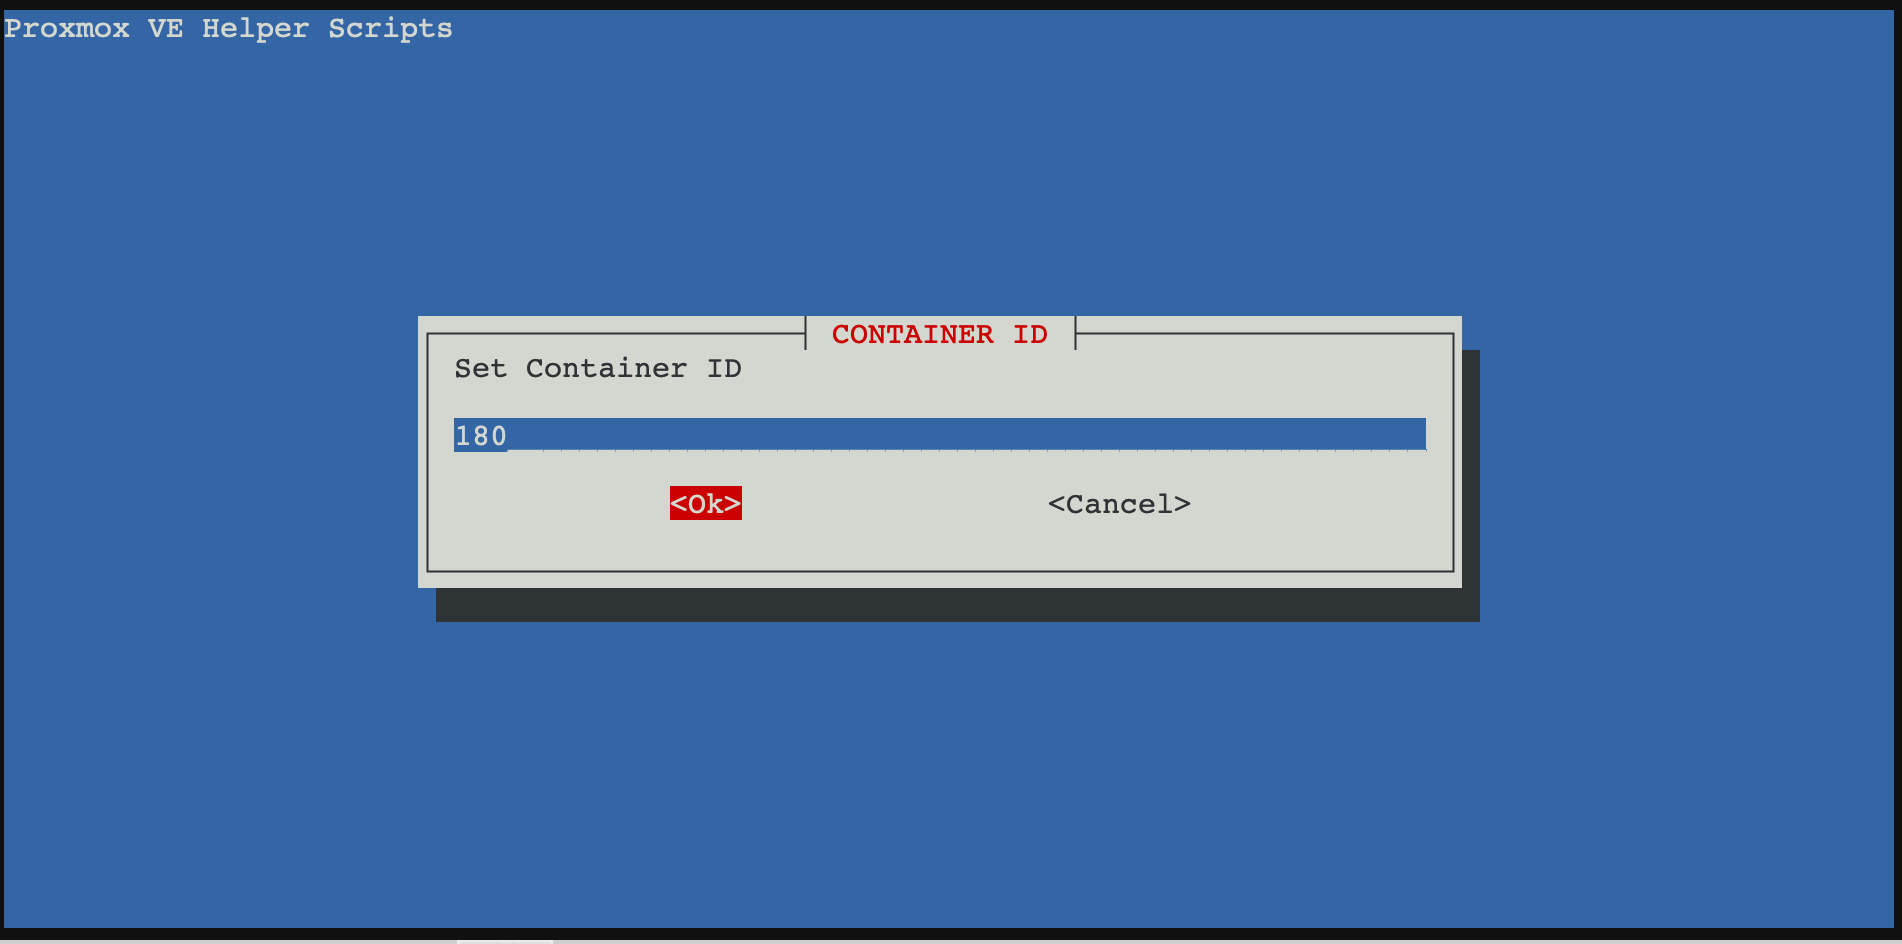
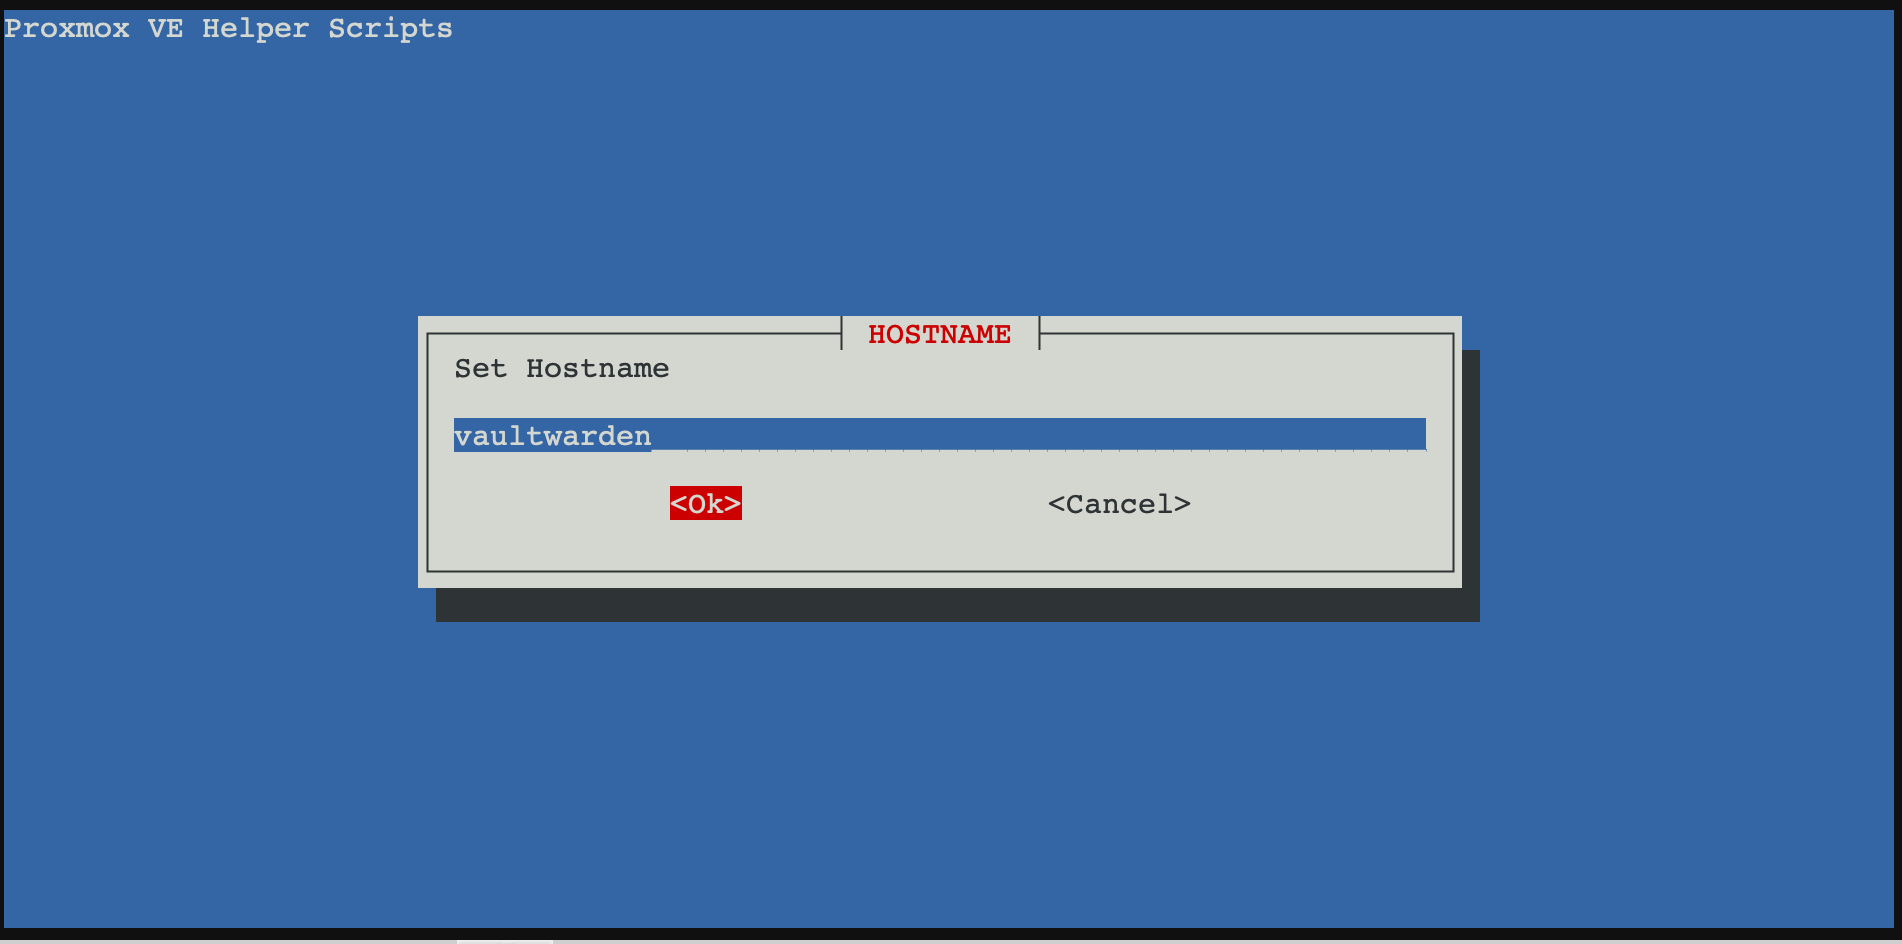
Then you can choose the container ID and the name of the container.
For the ressources allocated to the container, I left the default values since there corresponds to the recommendation:
- HDD: 6GB
- CPU: 4vCPU
- RAM: 6GB


I want a static IPv4 address for my LXC. Thus, I change the default DHCP for an IP on my local network. I work on the network 192.168.1.xxx. For the last digits, I used to use the same as in the container ID. Don't forget the network mask and the enter the gateway IP address.
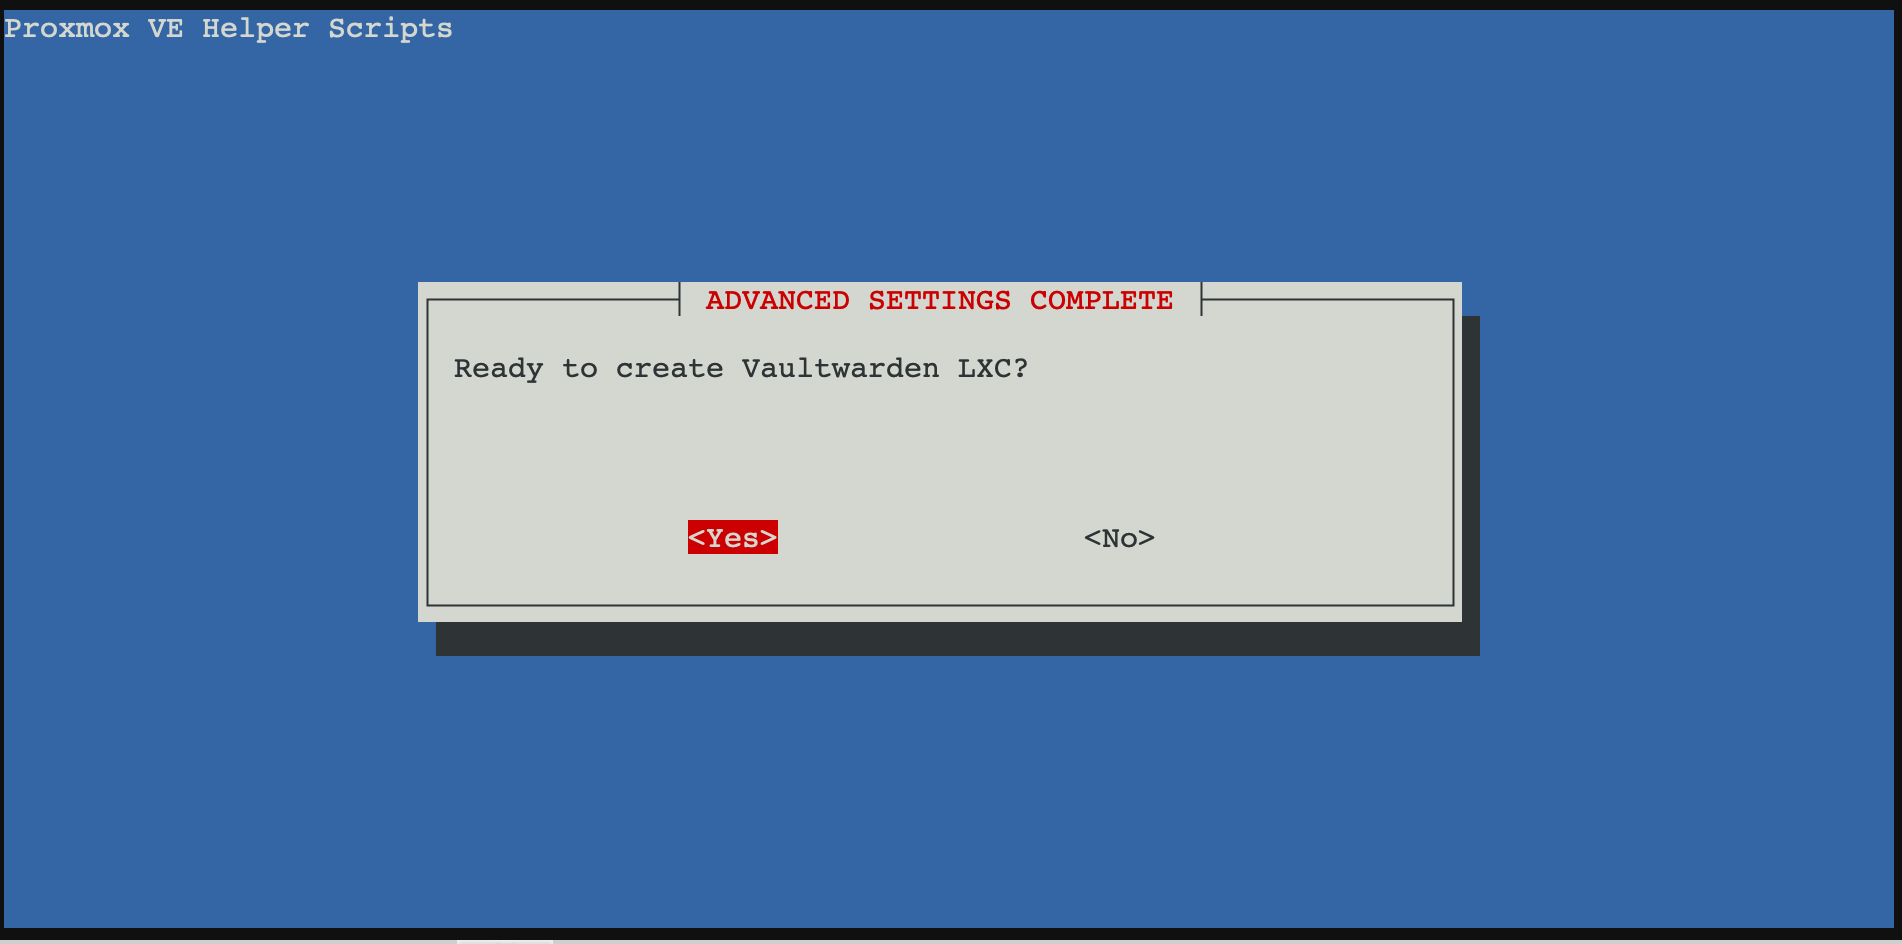
For all the others parameters, I just left the default values, except I enable the verbose mode. Now I can create my LXC.
You will need to be patient during the installation process, as it can take some time. However, after a few minutes, the installation will complete, and the script will provide you with the IP address you can use to access the Vaultwarden service. The completion message will look something like this:
  ✔️  Cleaned
  ✔️  Completed Successfully!

  🚀  Vaultwarden setup has been successfully initialized!
  💡   Access it using the following URL:
    🌐  http://192.168.1.180:8000
Now that the installation is complete, you can try to visit the provided URL. However, when you access it, you might encounter an issue where the page never loads, and you’ll be stuck with a spinning loading icon.
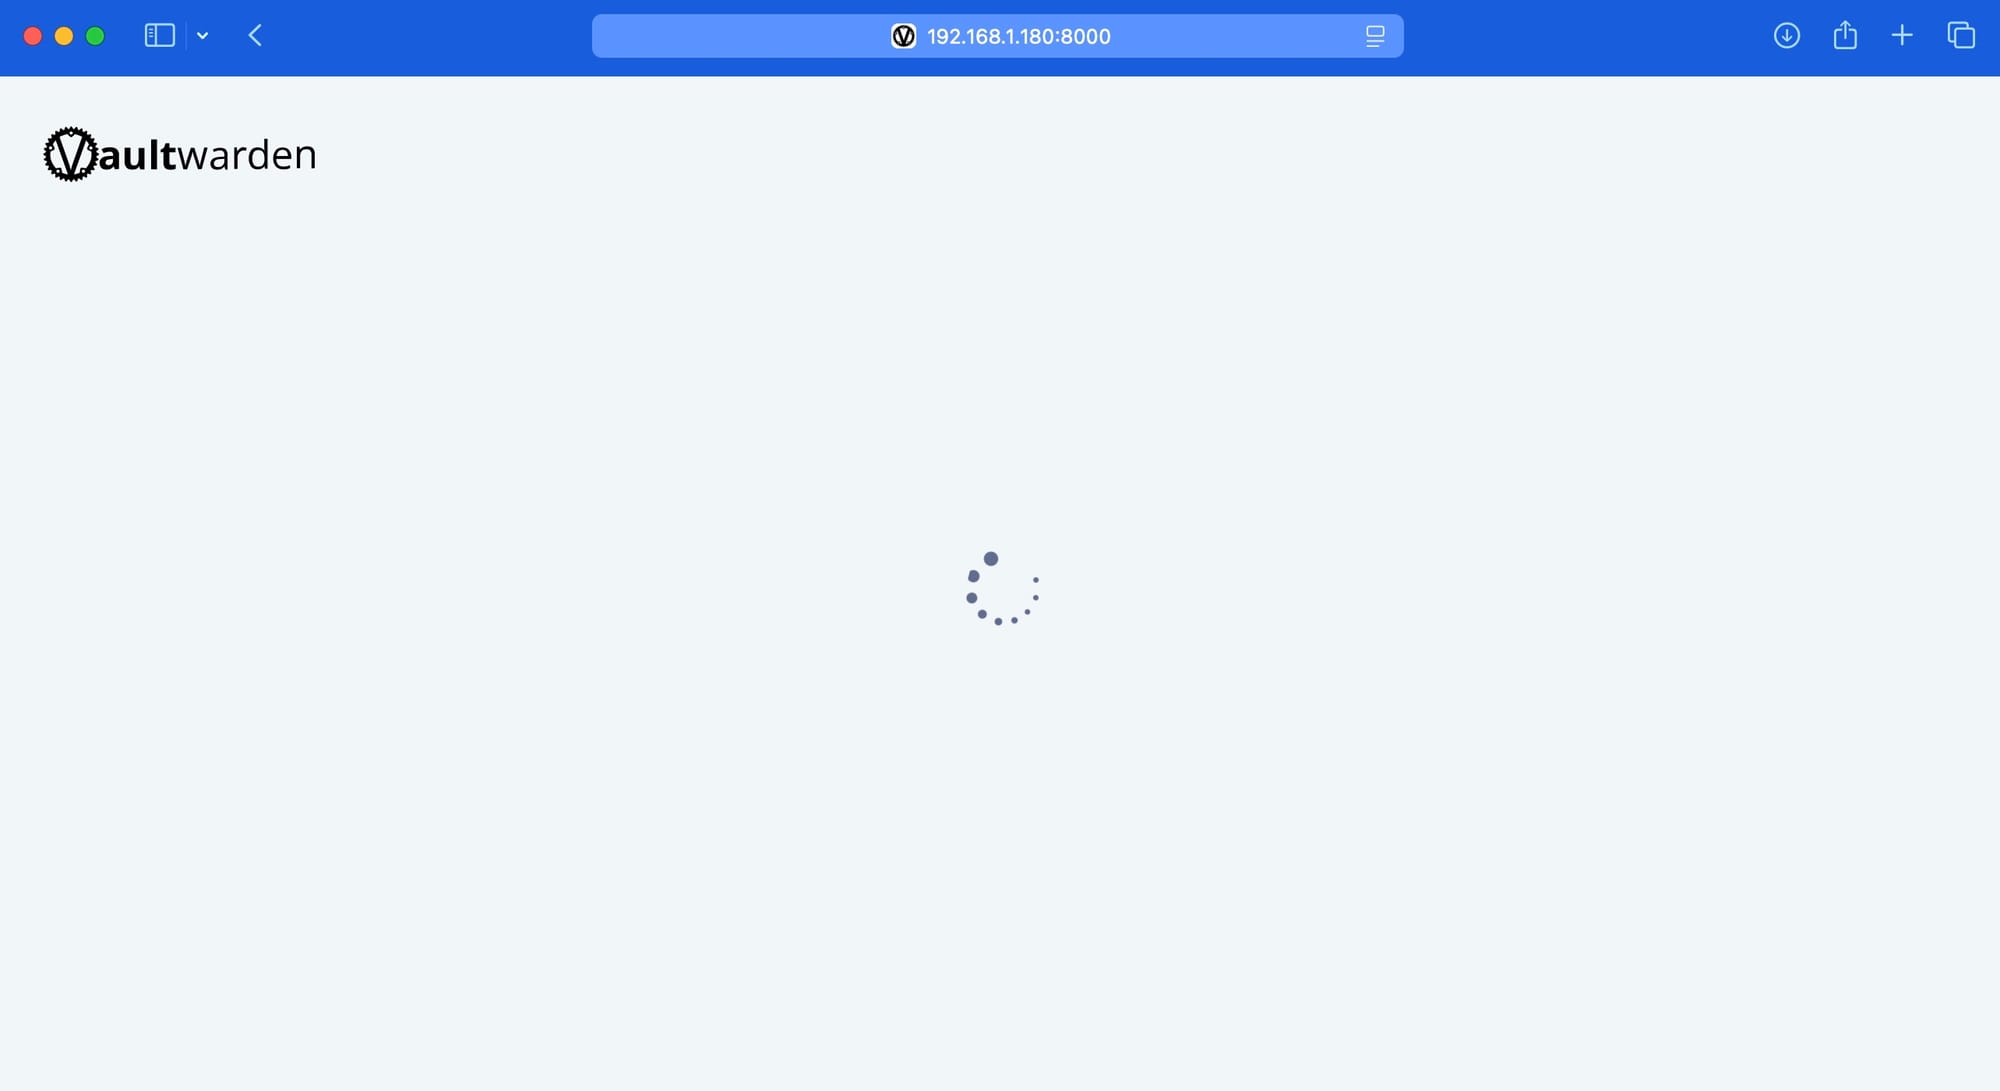
If it's not working, it's because Vaultwarden can only run over HTTPS, but you're trying to access it via HTTP. This mismatch is why the page isn't loading correctly. To resolve this, I use Caddy as a reverse proxy, which allows me to securely route traffic from an HTTPS URL to the local HTTP service running on Vaultwarden.
Here are the lines I added to my Caddyfile to configure the reverse proxy:
vaultwarden.gianelli.net {
        reverse_proxy 192.168.1.180:8000
        tls /etc/caddy/ssl/certificate.pem /etc/caddy/ssl/key.pem
        encode gzip
}
With this configuration, the Vaultwarden service, which is running locally on 192.168.1.180:8000, will be proxied to a new subdomain: vaultwarden.gianelli.net. This setup ensures that traffic to vaultwarden.gianelli.net is securely forwarded to the internal Vaultwarden service, and the SSL/TLS encryption is handled by Caddy using the specified certificates.
⚠️ For this tutorial, I am using the subdomain vaultwarden, but for security and privacy reasons, I recommend using a less explicit name.
Now that you've updated your Caddyfile, you just need to reload the Caddy service to apply the changes. To do this, use the following command:
caddy reload
Once you’ve reloaded the Caddy service, go to the URL you specified in your Caddyfile. You should now be able to access the Vaultwarden service via HTTPS securely. For your first connection, you’ll need to create an account.
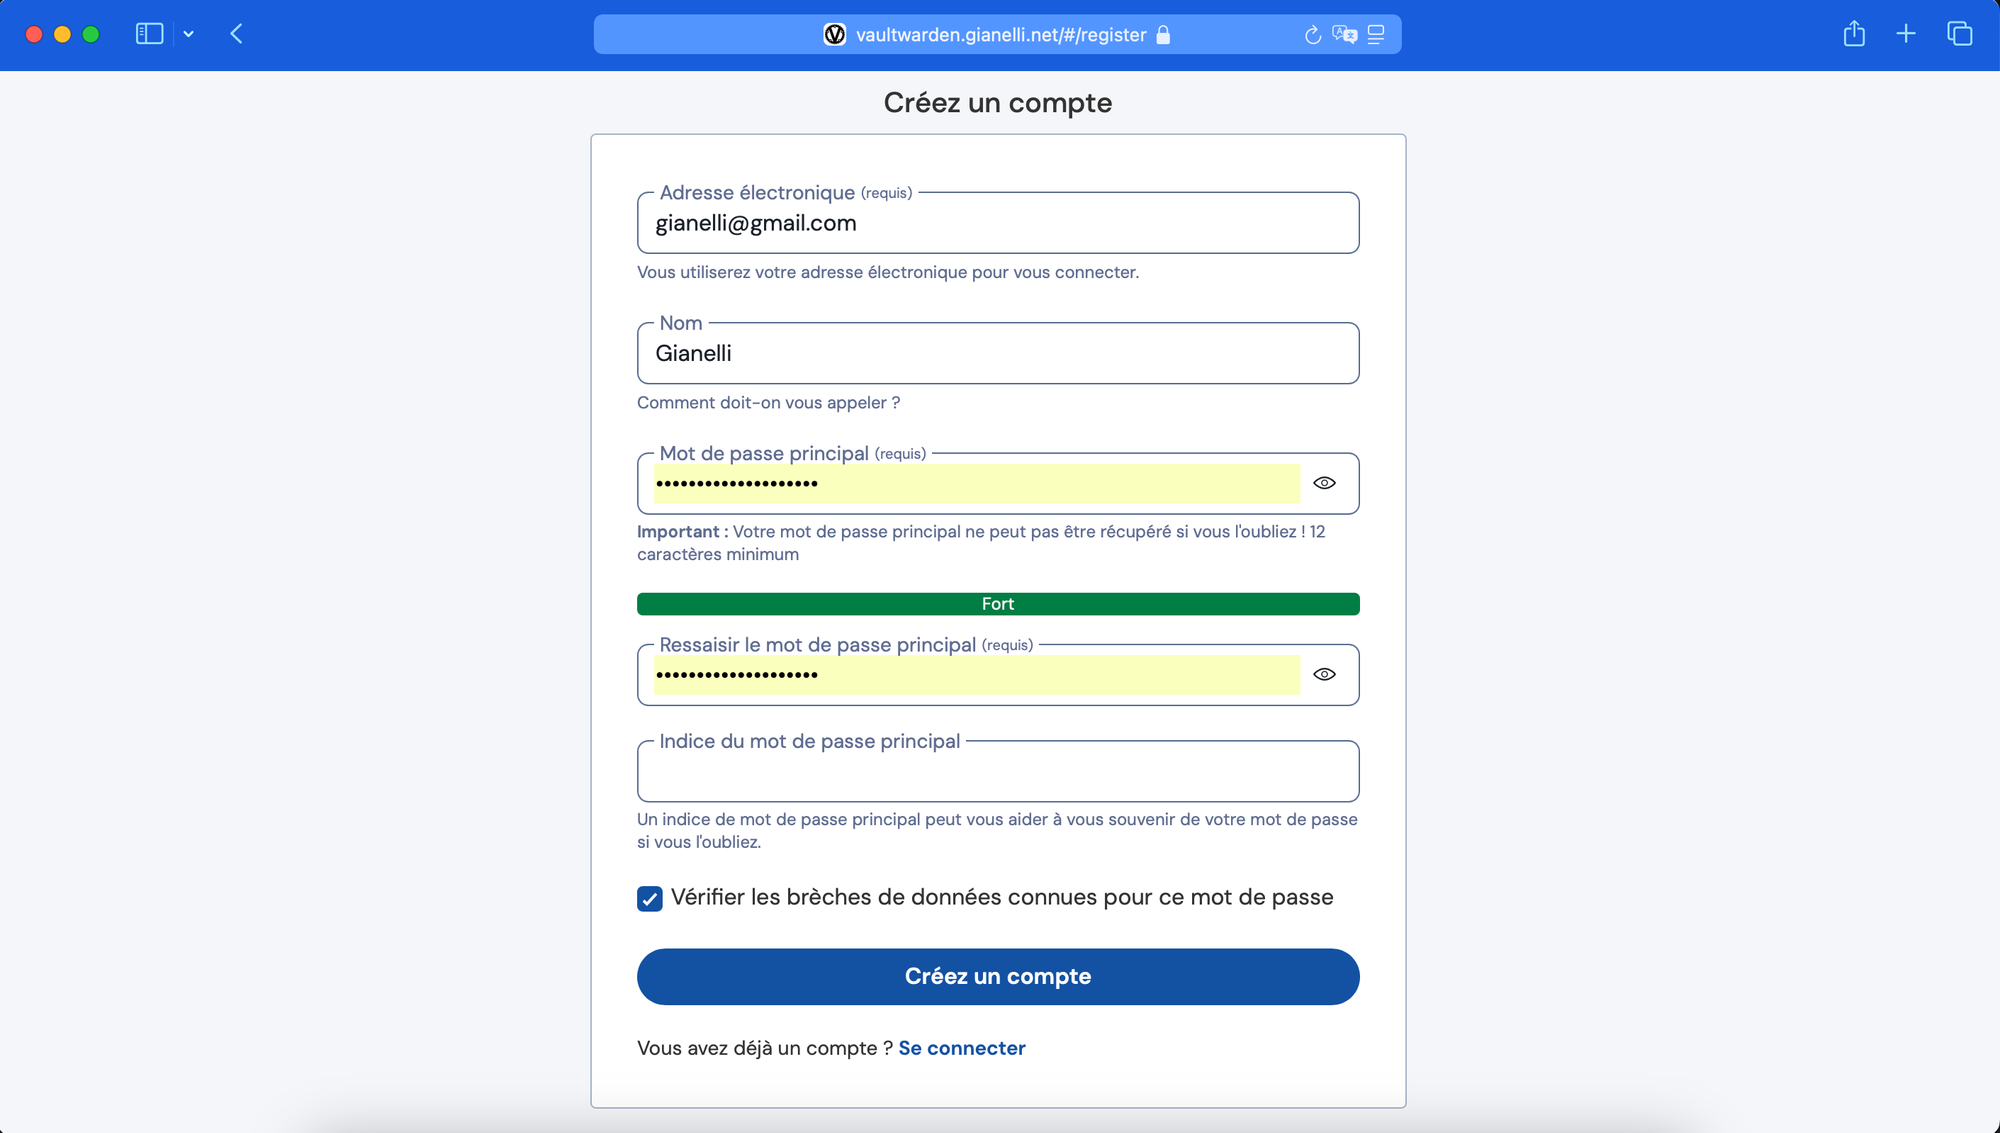
When filling out the account creation form in Vaultwarden, you don't need to provide a valid email address, as the email field is only used as a username for the account. You can skip the password hint field as well, although it's a helpful reminder for you in case you forget your password. However, it is important to choose a strong password for your Vaultwarden account, as this password will protect your sensitive data. Be sure to remember it, or store it securely in another safe place.
Passwords importation into Vaultwarden
Now that you've created your account, you can log in to Vaultwarden using the email and the strong password you just set. Once logged in, you'll be directed to your dashboard, where you can manage your passwords and other sensitive data.
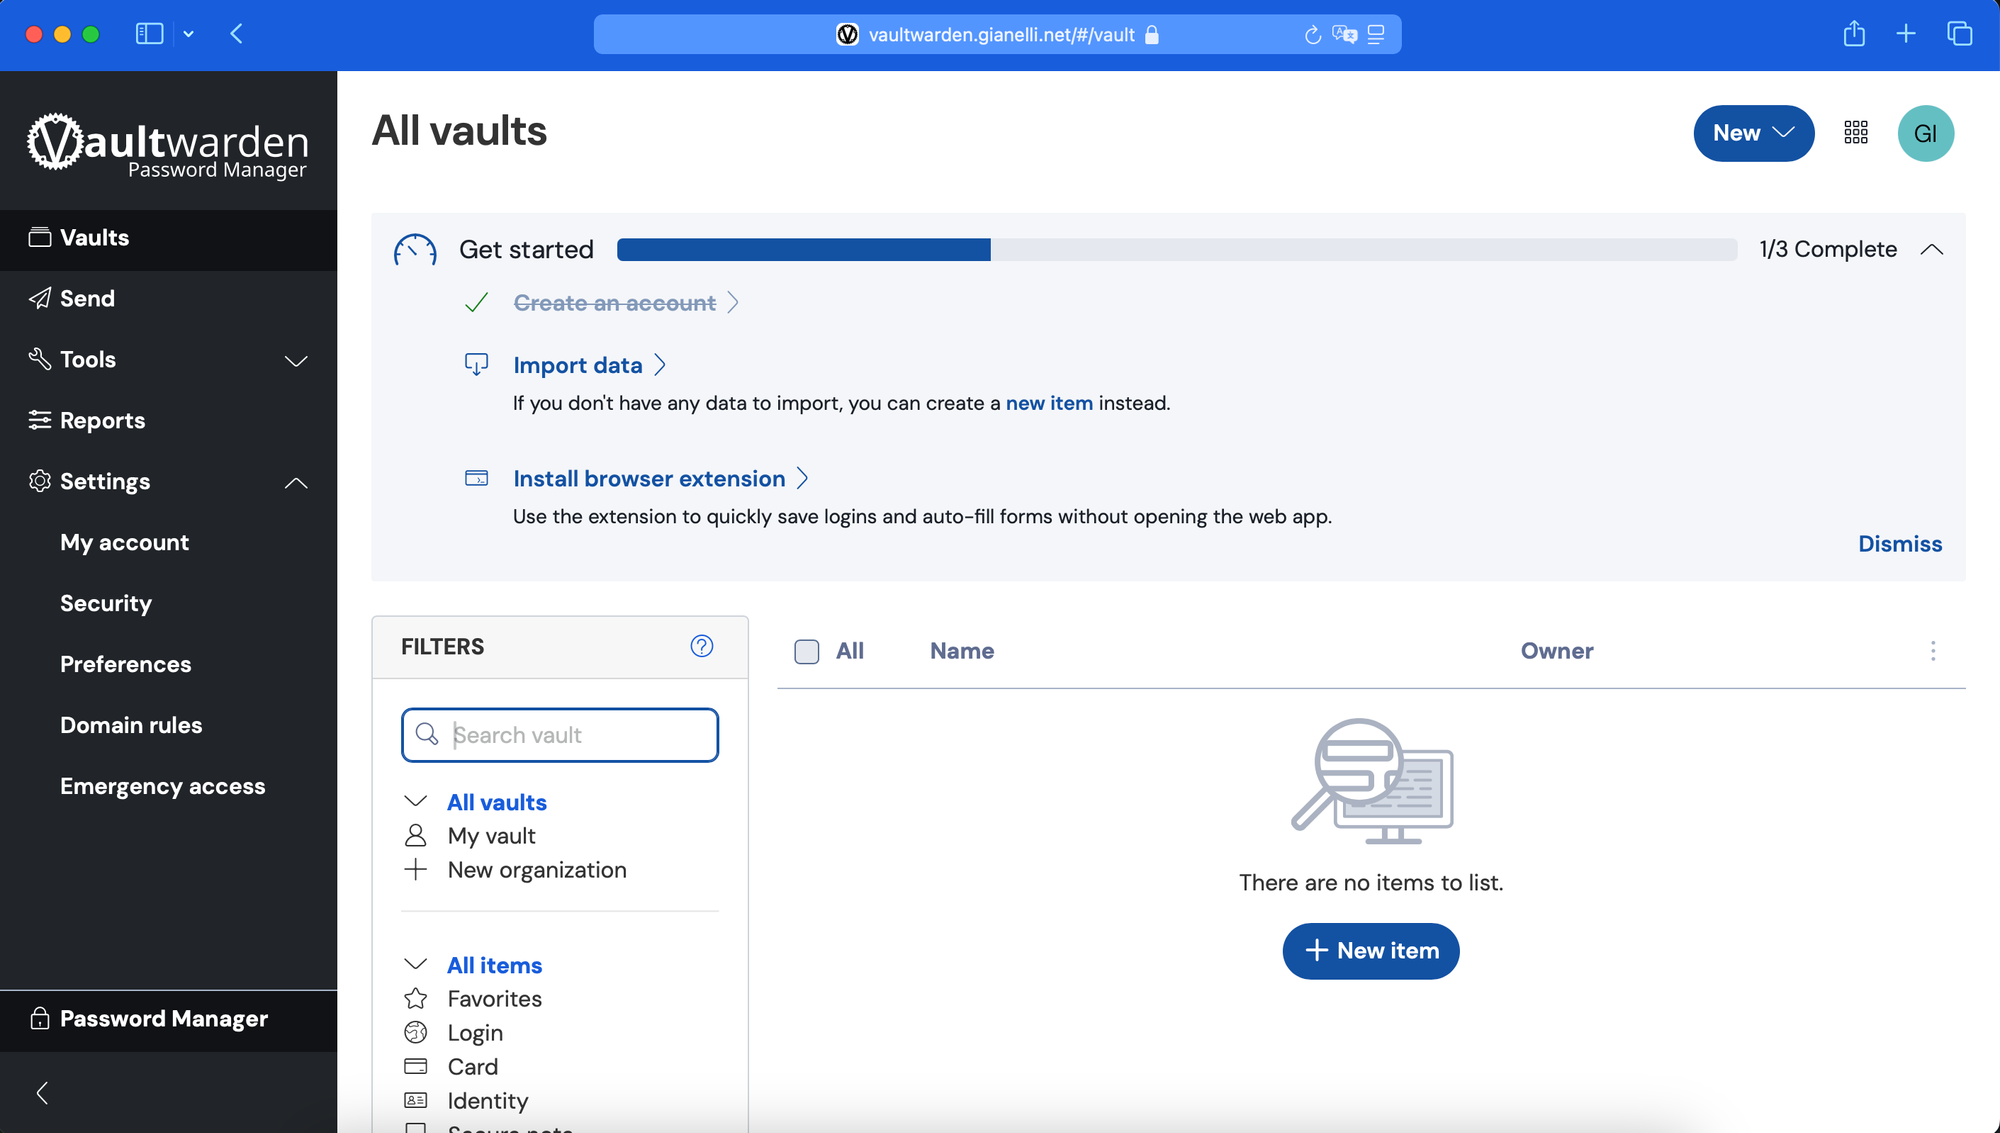
In the Vaultwarden dashboard, click the "New" button in the top-right corner to create a new folder. I named mine "Passwords" to organize my entries.
Next, open the Passwords app on your Mac. For this tutorial, I’ll export just one demo password, but you can choose to export all your passwords at once. In the app, go to the Files menu and select the export option. The exported data is a CSV file. For convenience, I saved the file on my Desktop, but you can choose another location if you prefer.

Go back to Vaultwarden and select Import data either in the Get Started panel or in the Tools section. Keep the default value My Vault and select the folder you created earlier (e.g., "Passwords"). For the file format, choose Safari and macOS (csv), then import the CSV file you exported earlier. Click on Import data, and a summary of the operation will appear. Afterward, the list of your passwords will be displayed on the homepage.
To import your passwords, we first exported them into a CSV file. However, this file is not secure, and it’s crucial to delete it afterward. But before simply deleting the file, we'll overwrite it with random bits to ensure that no traces of the file remain on your computer. This extra step adds a layer of security by preventing any possibility of recovery.
First, navigate to the directory where you exported your passwords CSV file. For example, if you saved it on your Desktop, open the terminal and use the following command:
cd Desktop
Next, check the size of your CSV file by using the following command in the terminal:
ls -la
This will display detailed information about the files in the current directory, including the file size. For example, if the file size is 130 bytes, it will show something like this:
total 32
drwx------@  6 gianelli  staff   192 Mar 18 23:45 .
drwxr-x---+ 38 gianelli  staff  1216 Mar 18 23:45 ..
-rw-r--r--@  1 gianelli  staff   130 Mar 16 23:47 Passwords.csv
You can also check the content of your CSV file to ensure it is not corrupted and still readable. To do this, use the following command in the terminal:
cat Password.csv
This will display the contents of the file. For example, it might look something like this:
Title,URL,Username,Password,Notes,OTPAuth
demo.gianelli.net (gianelli),https://demo.gianelli.net/,gianelli,hyzwod-xokVo9-rozgiz,,
Now, to completely overwrite your CSV file, we will use the dd command. Here’s how it works:
- if: Specifies the input file, which in this case is /dev/urandom (a source of random data).
- of: Specifies the output file, which will be your CSV file (e.g., Passwords.csv).
- bs: Defines the block size. You want to match the size of your file, so you will use the same length (e.g., 130 bytes).
- count=1: Writes just one block, as the block size already matches the length of the file.
- conv=notrunc: Prevents the file from being truncated or resized.
The full command looks like this:
dd if=/dev/urandom of=Passwords.csv bs=130 count=1 conv=notrunc
After running the dd command to overwrite the file with random data, you can verify that the file is now completely unreadable by using the cat command:
cat Password.csv
The output will look something like this, showing a string of random characters:
]+ioZ�~Ϟ�r`6%
Since the contents are no longer readable, you can be sure that the file has been securely overwritten with random data.
To complete the operation, you can now delete the CSV file to ensure it no longer exists on your system. Use the following command to remove it securely:
rm Password.csv
This will permanently delete the file from your system, ensuring that no traces of your sensitive data remain.
Secure features and devices integration
Two-Factor Authentication (2FA)
To enhance the security of your Vaultwarden account, enabling Two-Factor Authentication (2FA) is a crucial step. This adds an extra layer of protection by requiring a second form of verification in addition to your password. Even if someone obtains your master password, they won’t be able to access your vault without this second factor.
To enable this functionality, I navigate to Settings > Security > Two-step login and click Manage in the Authenticator app section. This opens the setup process, allowing me to link my Vaultwarden account to an authenticator app for added security.
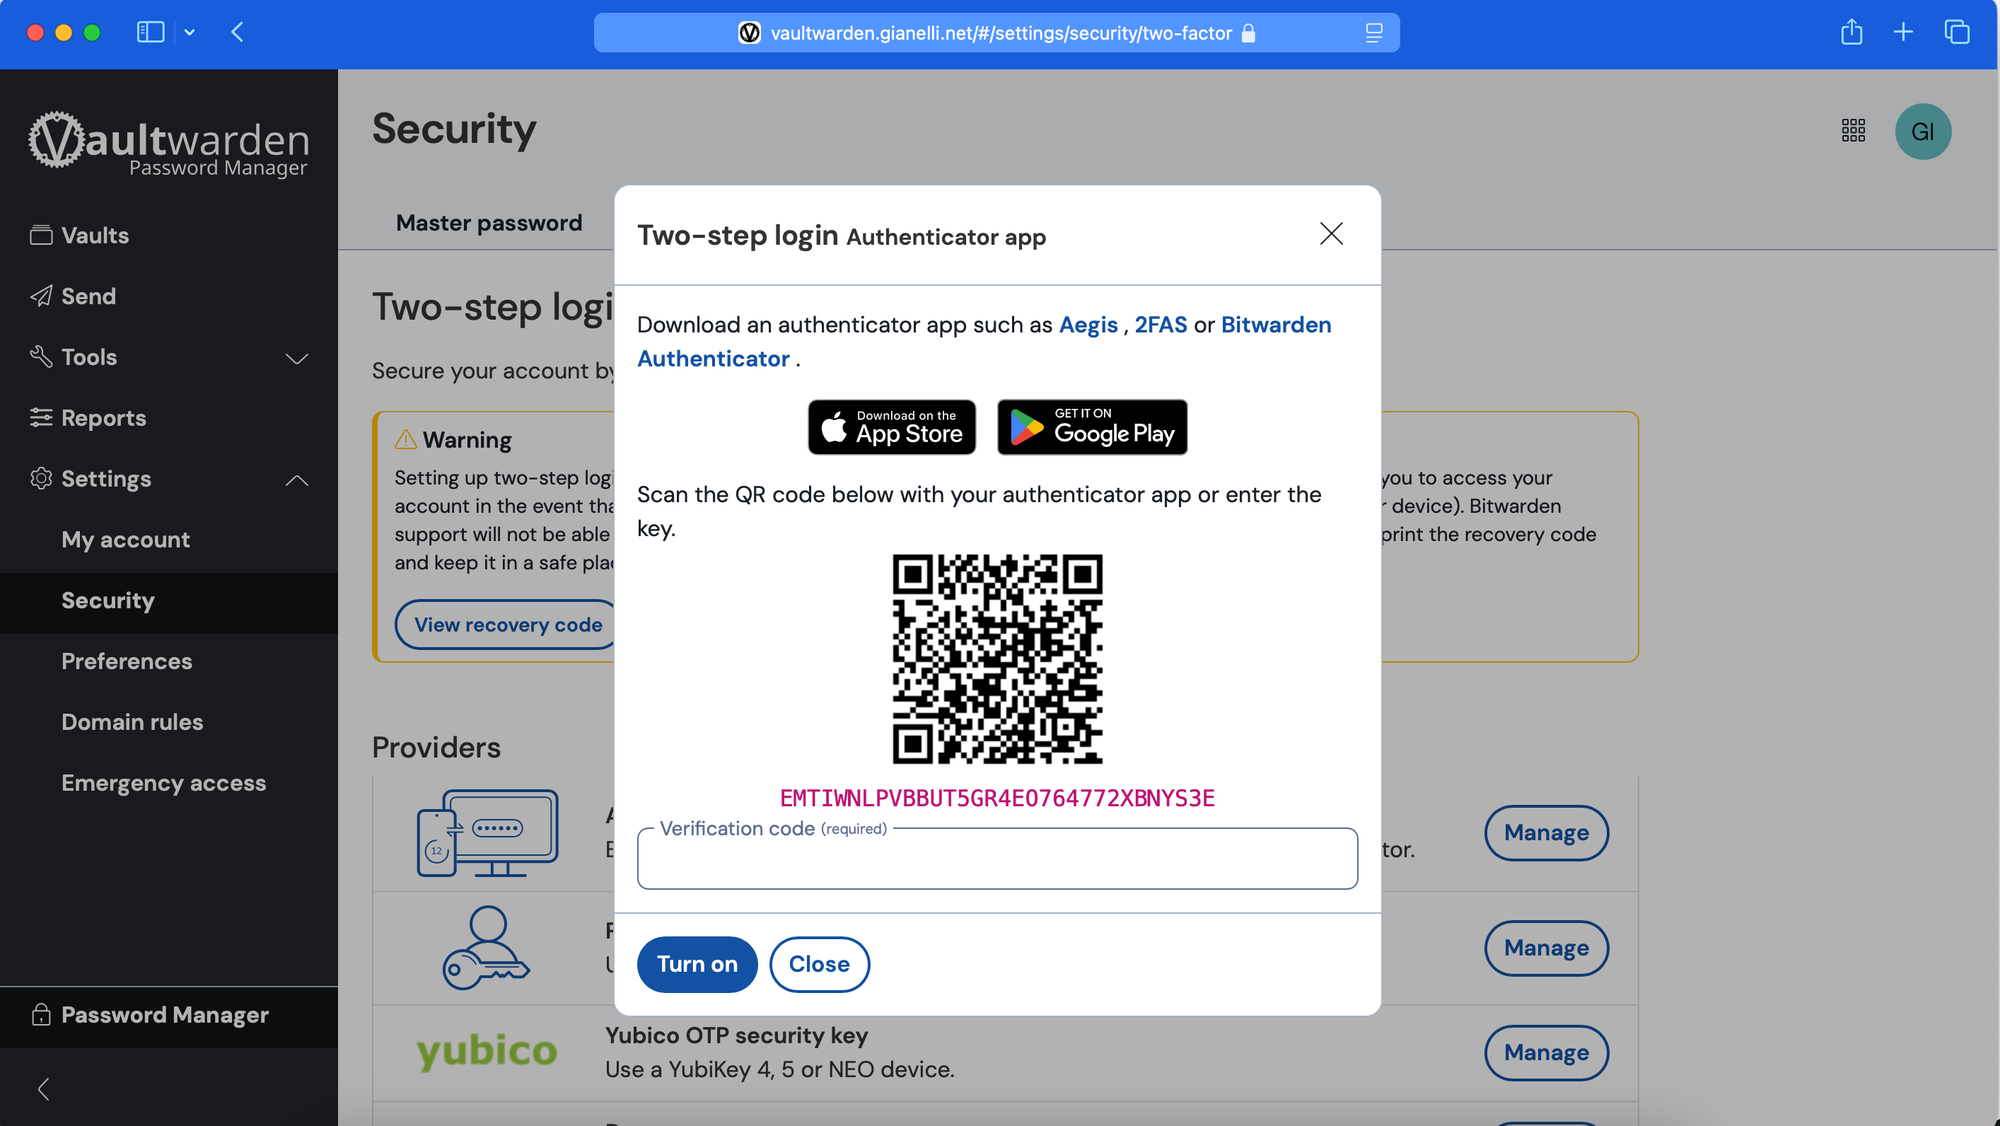
This will display a QR code that needs to be scanned using an authenticator app. If you don’t already have one installed, you can download Bitwarden Authenticator, or use alternatives like Google Authenticator, Microsoft Authenticator, or Authy. These apps generate time-based one-time passwords (TOTP) that will serve as an additional security layer for your Vaultwarden account.
Since I already use Microsoft Authenticator, I’ll choose this app for the setup. I simply scan the QR code displayed on the Vaultwarden setup page with my Microsoft Authenticator app, and it will automatically add the account to the app for generating time-based authentication codes.
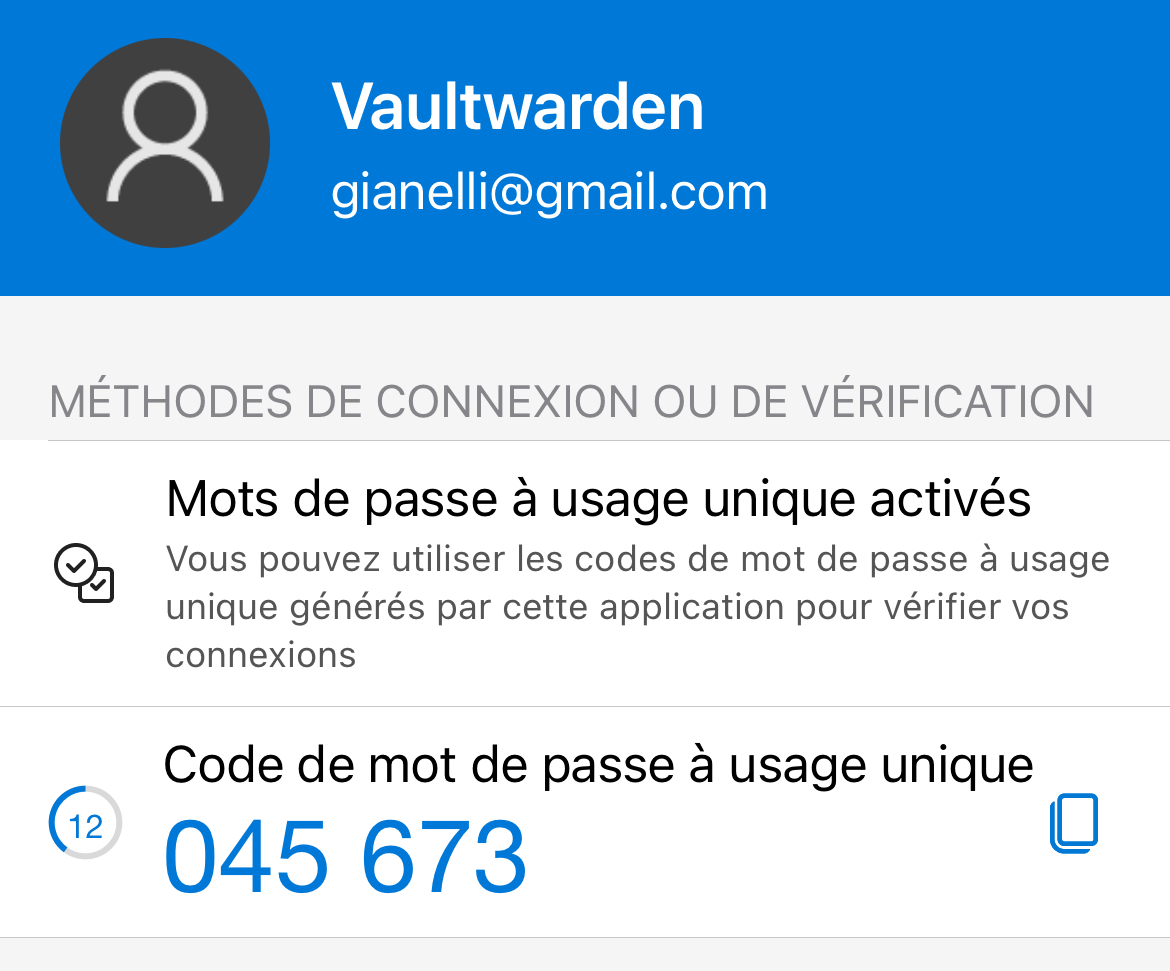
Every 30 seconds, the authenticator app generates a new 6-digit code. To complete the Two-Factor Authenticationsetup, enter the generated code from your app into the verification code field in the web interface and then enable the functionality. This will finalize the 2FA configuration and secure your account with an additional layer of protection.
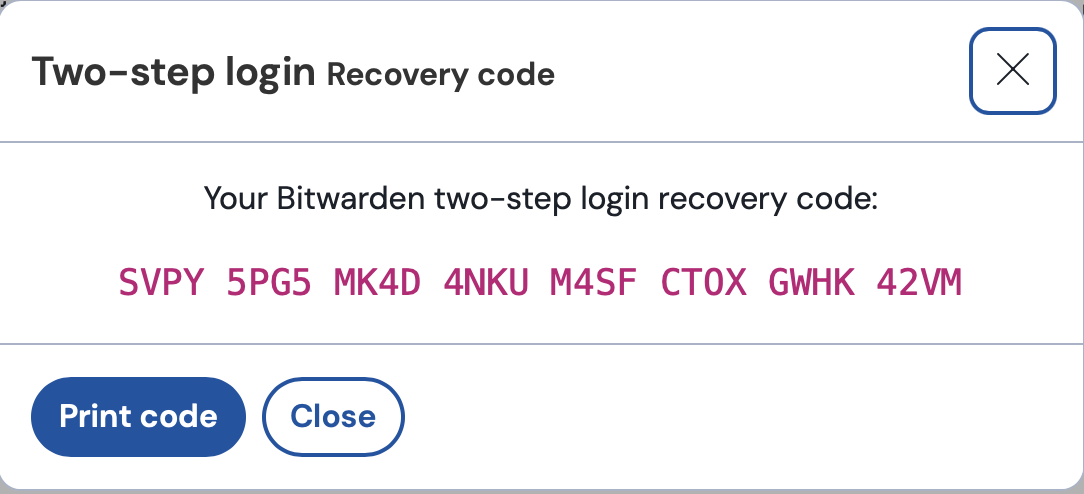
If you lose your smartphone, you will no longer be able to access your vault. To prevent this situation, make sure to save your recovery code. Bitwarden strongly recommends that you print the recovery code and store it in a secure location. This recovery code will allow you to regain access to your account in case you lose access to your authenticator app.
Browser extension
Return to the Vaultwarden home page and click on the option to install the browser extension. This will redirect you to the App Store, where you can download the Bitwarden app. Once installed, the Bitwarden web extension will be available in Safari.
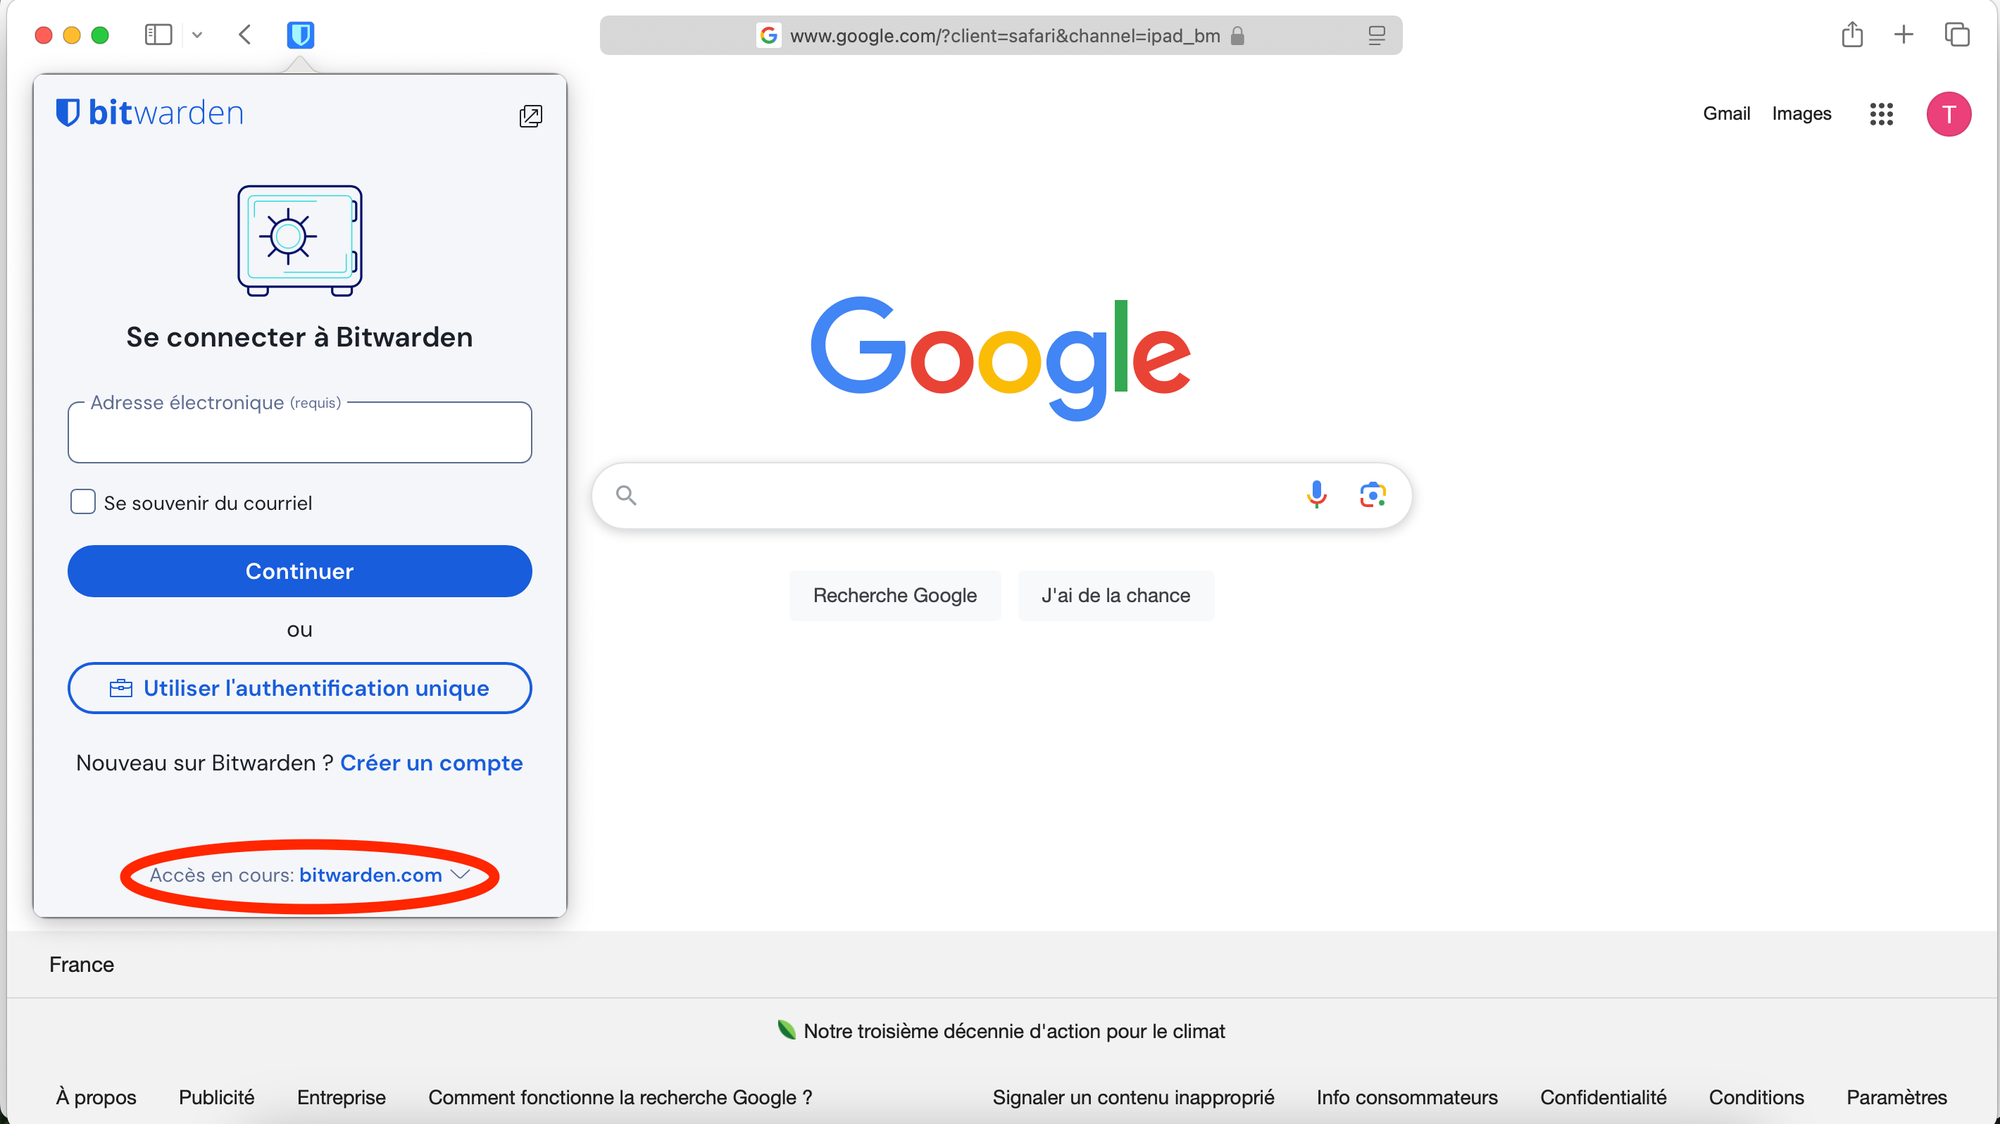
Change the access method to self-hosted, then enter the URL of your Vaultwarden instance. Once this is set up, you can log in using your email and master password. If you have enabled Two-Factor Authentication (2FA), you will also need to enter the 6-digit code generated by your authenticator app to complete the login process and access your vault.
Go to the Settings section and navigate to Account Security. Here, you can enable biometric access to your vault, allowing you to unlock it using Face ID or Touch ID (depending on your device). You can also define the duration for which the vault remains accessible after being unlocked, giving you the option to automatically lock it after a certain period of inactivity.
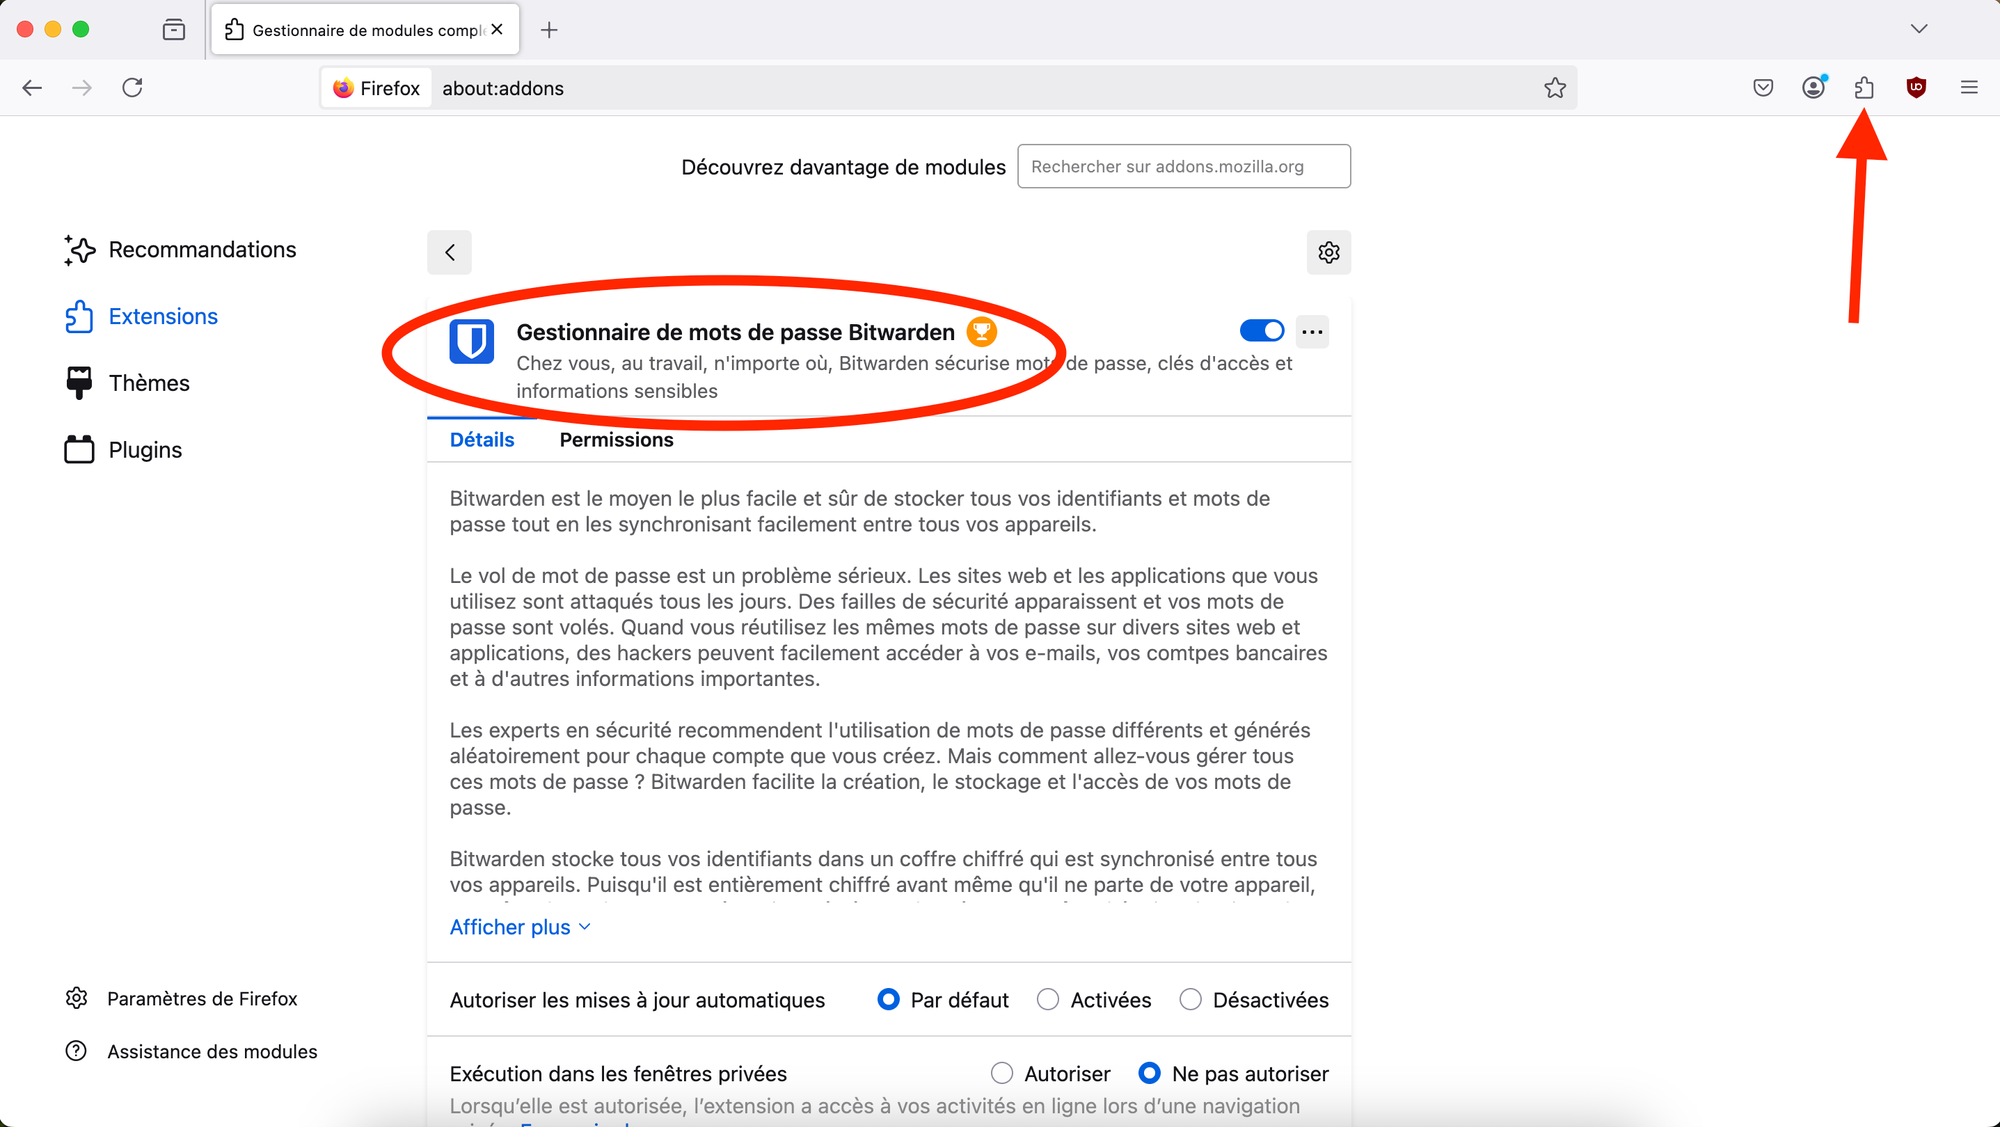
In Mozilla Firefox, click on the extension button in the top-right corner of your browser. Then, search for the Bitwarden password manager extension. Once found, you can click on it to add the extension to your browser. This will allow you to easily autofill passwords and securely manage your login credentials directly from the browser.
The setup process is exactly the same as in Safari. Once the Bitwarden extension is installed in Mozilla Firefox, it will automatically start autofilling your passwords, allowing you to easily log into websites without having to manually enter your credentials each time.
IOS Application
You first need to download the Bitwarden app from the App Store and log in using your Vaultwarden credentials. The process is identical to setting up the browser extension.
Now, to enable autofill using Bitwarden instead of Apple's default Passwords app, you need to configure your iPhone's settings. This will allow Bitwarden to automatically suggest and fill in saved credentials whenever you log into apps or websites.
- Open the Settings app on your iPhone.
- Scroll down and tap on General.
- Select Autofill & Passwords.
- Under Autofill From, enable Bitwarden by toggling it on.
- If necessary, disable Passwords (Apple’s default autofill service) to prevent conflicts.

Now, your iPhone will autofill passwords using your self-hosted Vaultwarden instead of Apple's cloud-based service.
Conclusion
By following these steps, you now have a fully self-hosted password manager with:
- Full control over your data
- Secure HTTPS access via Caddy
- Cross-device synchronization
- Two-Factor Authentication for extra security
Enjoy your privacy-focused password manager!
Credits