Email Aliasing on Your Own Domain with Telegram

In this article, I'm going to explain how I built a Telegram bot that creates email aliases on my Google Workspace domain and forwards them to my main inbox — so I never have to give out my real address again.
The Problem
I have a Google Workspace domain for my personal projects. Like most people, I was constantly giving out my real email address for every newsletter, free trial, or one-time signup. My inbox was a mess, and I had no way to trace which service was responsible for which spam. And more importantly, I had no easy way to cut off a specific service without affecting everything else.
Services like Guerrilla Mail or SimpleLogin exist, but they're either public and temporary, or dependent on a third-party service I don't control. I wanted something different: real addresses on my own domain, tied to a specific use, that I can create or kill in seconds.
The idea is simple:
/new amazon   →  creates [email protected], forwards to your inbox
/delete amazon  →  gone forever, no more emails from that service
One Telegram message. Done. And since every service gets its own address, I always know exactly who leaked or sold my data.
Overview
How It Works
The bot runs in a Docker container hosted on my personal server and communicates with two Google APIs:
Admin SDK to create and delete Workspace users. Each alias address is technically a real user account on the domain — which means it has a proper mailbox and can receive any email without additional configuration.
Gmail API to configure automatic forwarding on each newly created account. Every email sent to the alias is transparently forwarded to my main inbox, so I don't need to check multiple accounts.
The two operations happen sequentially each time you run /new: the user is created first, then the forwarding rule is set up. The only friction is that Gmail requires you to confirm a forwarding address before activating it — more on that in the forwarding section.
Project Structure
mail-bot/
├── bot/
│   ├── handlers.py      # Telegram command handlers
│   ├── security.py      # Authorization middleware
│   └── validators.py    # Input validation
├── workspace/
│   ├── auth.py          # Google Service Account authentication
│   ├── workspace.py     # User creation & deletion
│   └── forwarding.py    # Gmail auto-forward setup
├── db/
│   └── addresses.py     # Local JSON persistence
├── main.py
└── config.py
All the files for this project are available on my GitHub. You can use them as a starting point and adapt them to your setup.
Setting Up Google Cloud
This was the most involved part of the project. Here's the full process step by step.
1. Create a New Project
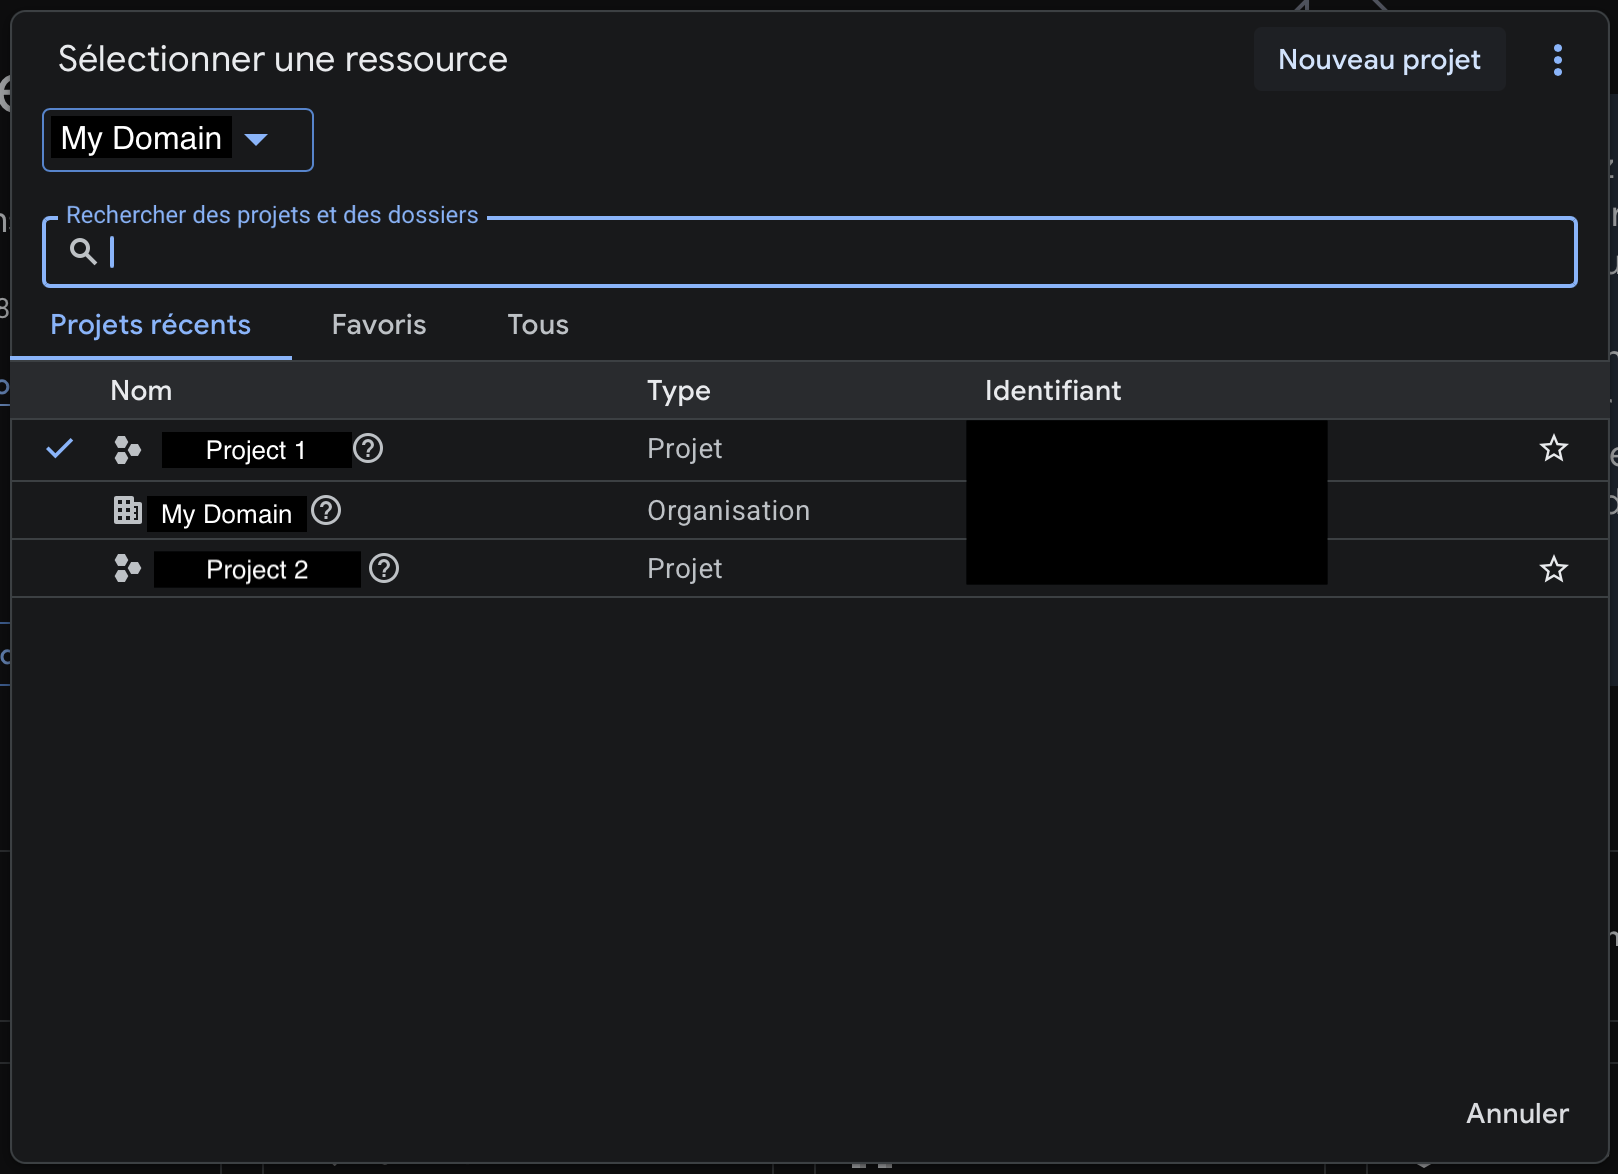
Go to console.cloud.google.com and create a new project. If you have a Google Workspace organization, make sure to select it as the parent resource.

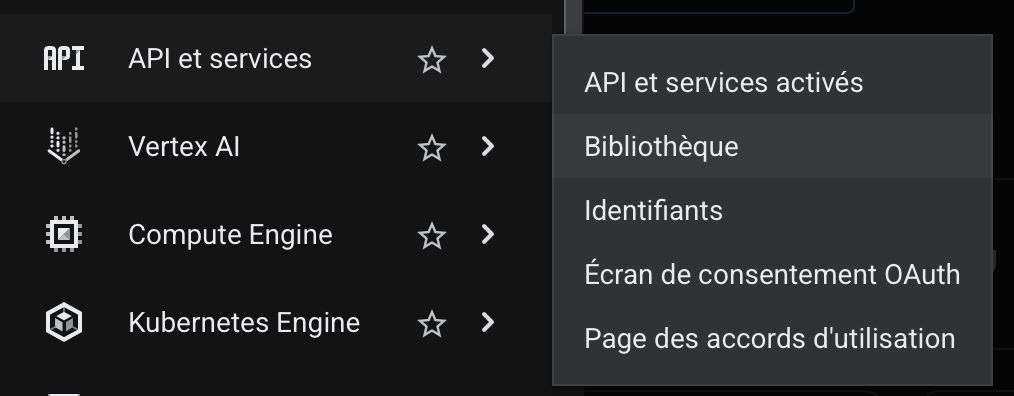
2. Enable the Required APIs
In the left menu, go to API & Services → Library. This is where you can browse and enable any Google API for your project. By default, none are enabled — you need to explicitly activate the ones your application will use.
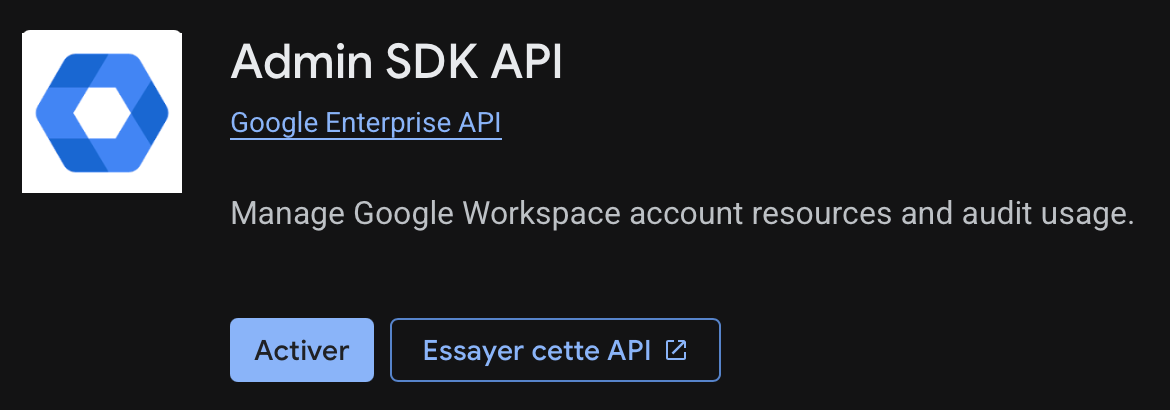
Search for and enable the following two APIs:
Admin SDK API — used to create and delete Workspace users.
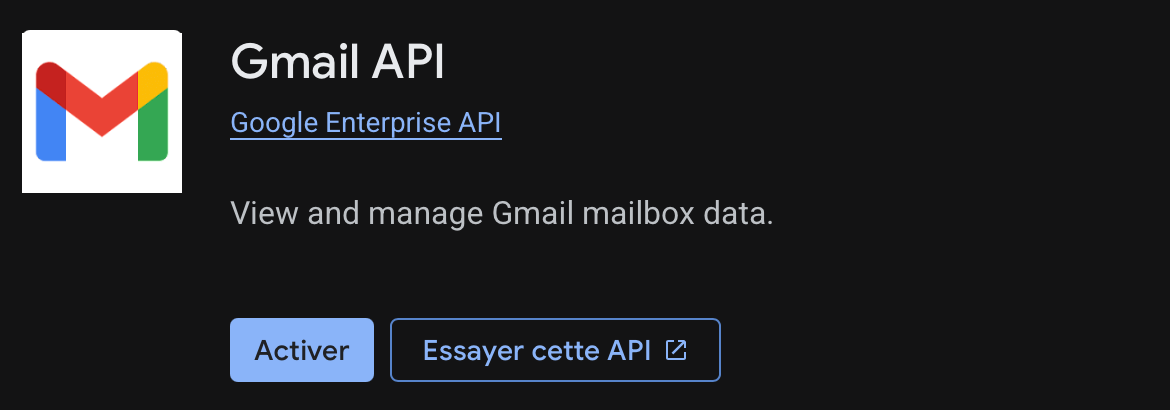
Gmail API — used to configure email forwarding on each new account.
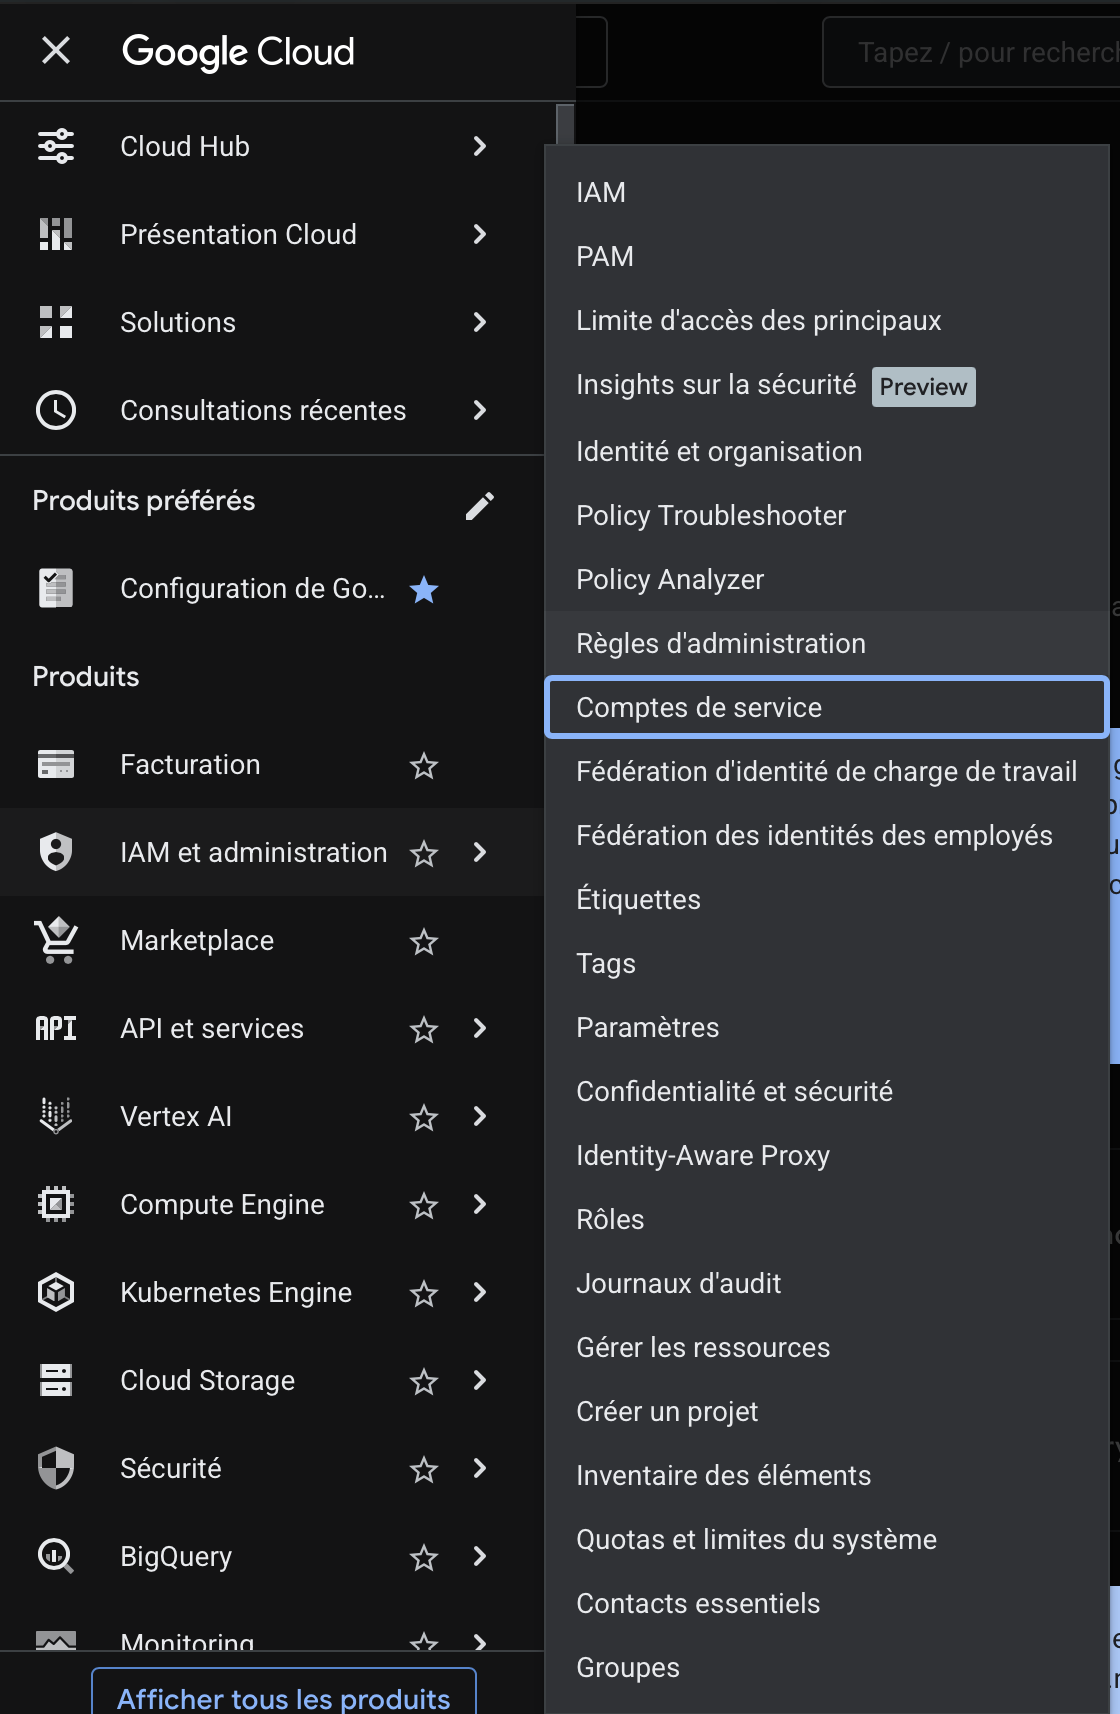
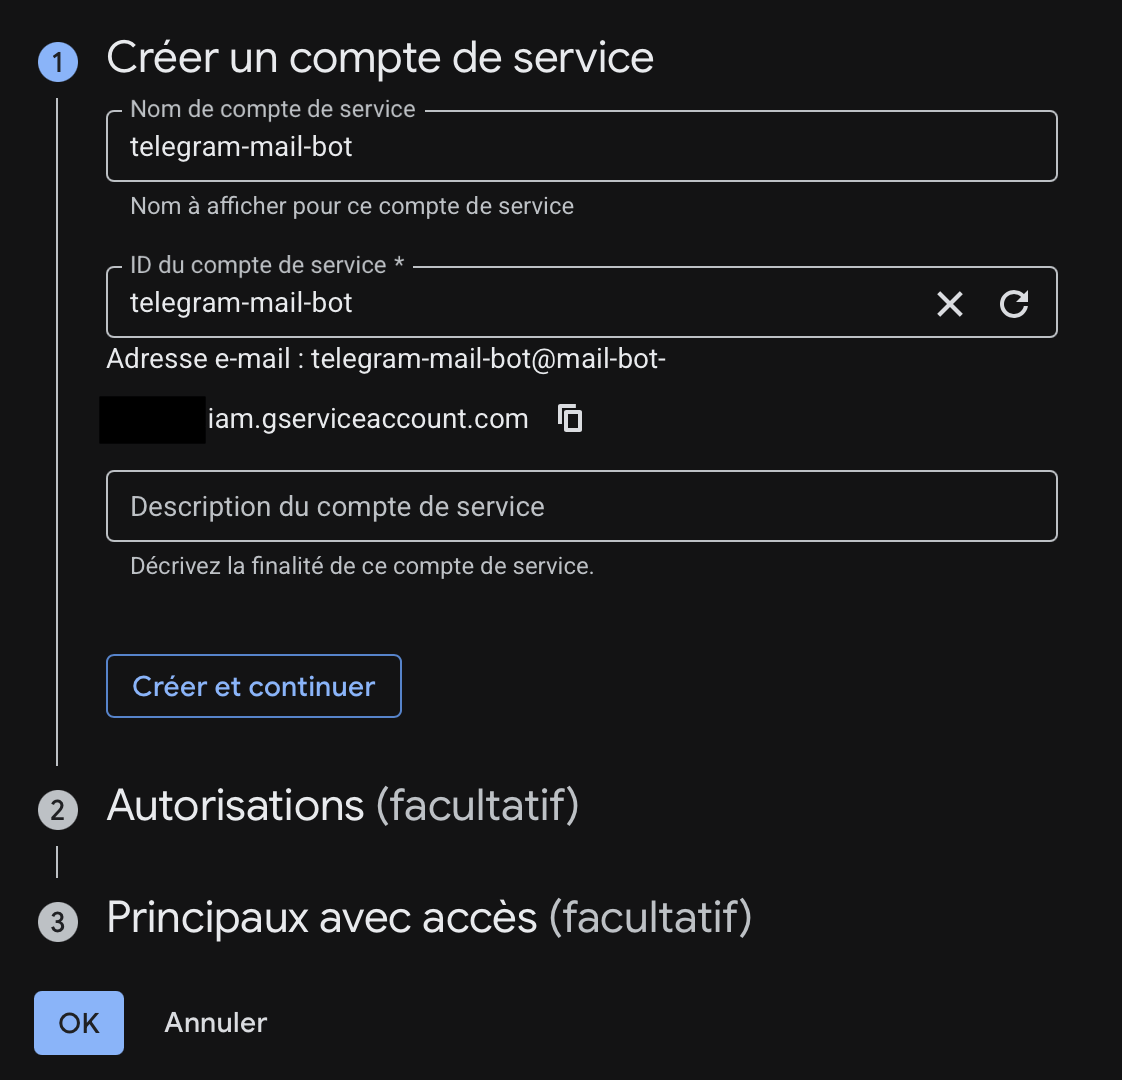
3. Create a Service Account
Go to IAM & Admin → Service Accounts and create a new service account. A service account is a special type of Google account that belongs to an application rather than a person. It's what the bot will use to authenticate with Google APIs — no human login required.
Give it a descriptive name. I used telegram-mail-bot. Google will automatically generate an email address for it (something like [email protected]). You don't need to grant it any IAM roles at this stage — just create it and move on to the next step.
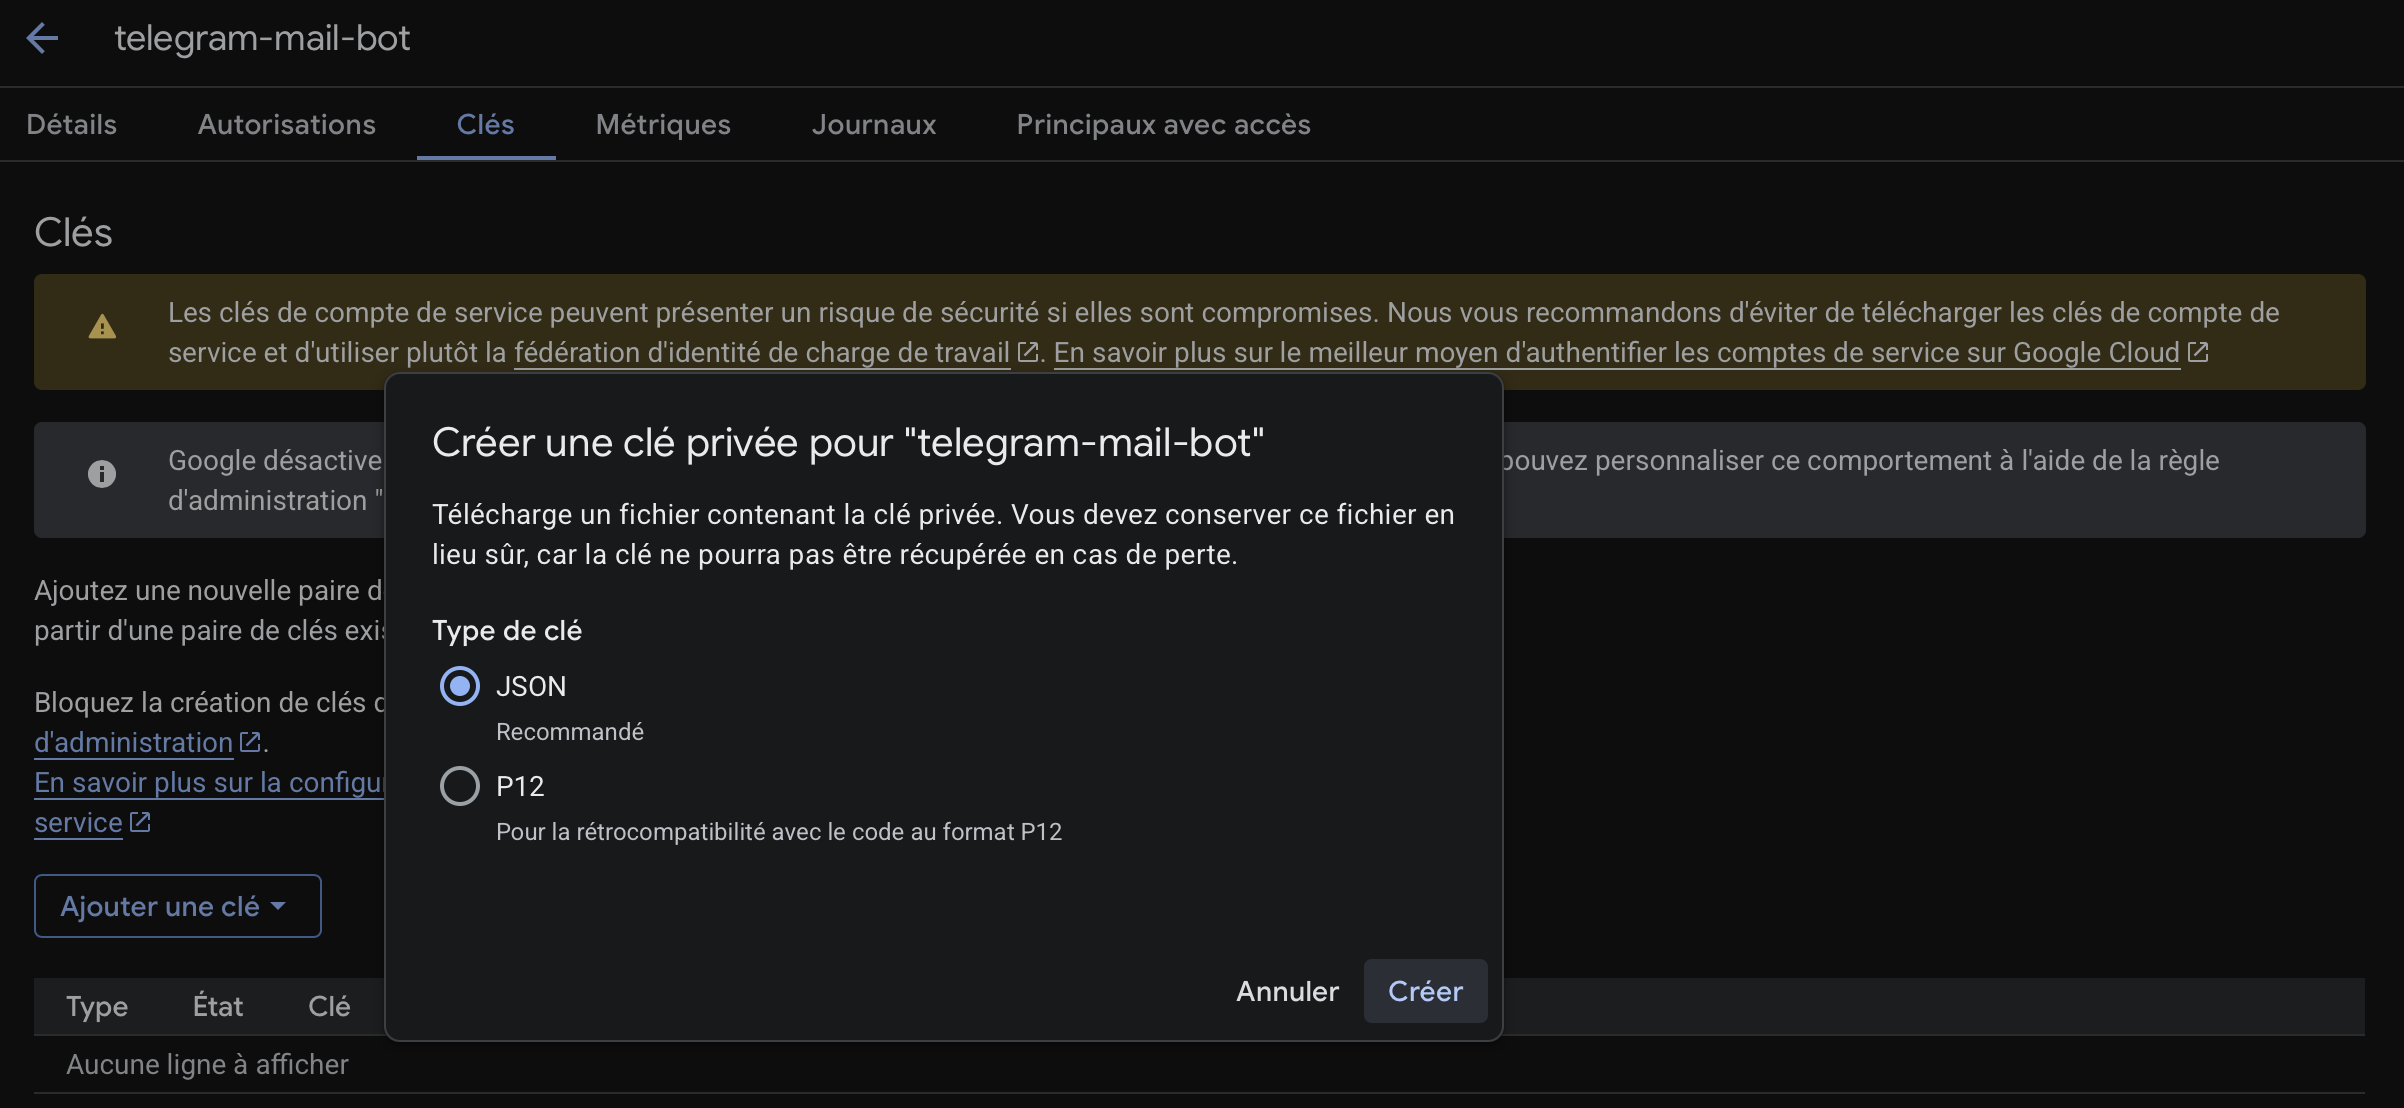
4. Download the JSON Key
Once the service account is created, open it and go to the Keys tab. Click Add Key → Create new key, select JSON, and download the file. This is the credential file the bot will use to authenticate with Google — treat it like a password.
Rename it service_account.json and place it in the root of the project. Never commit it to your repository — add it to your .gitignore and keep it only on your server.
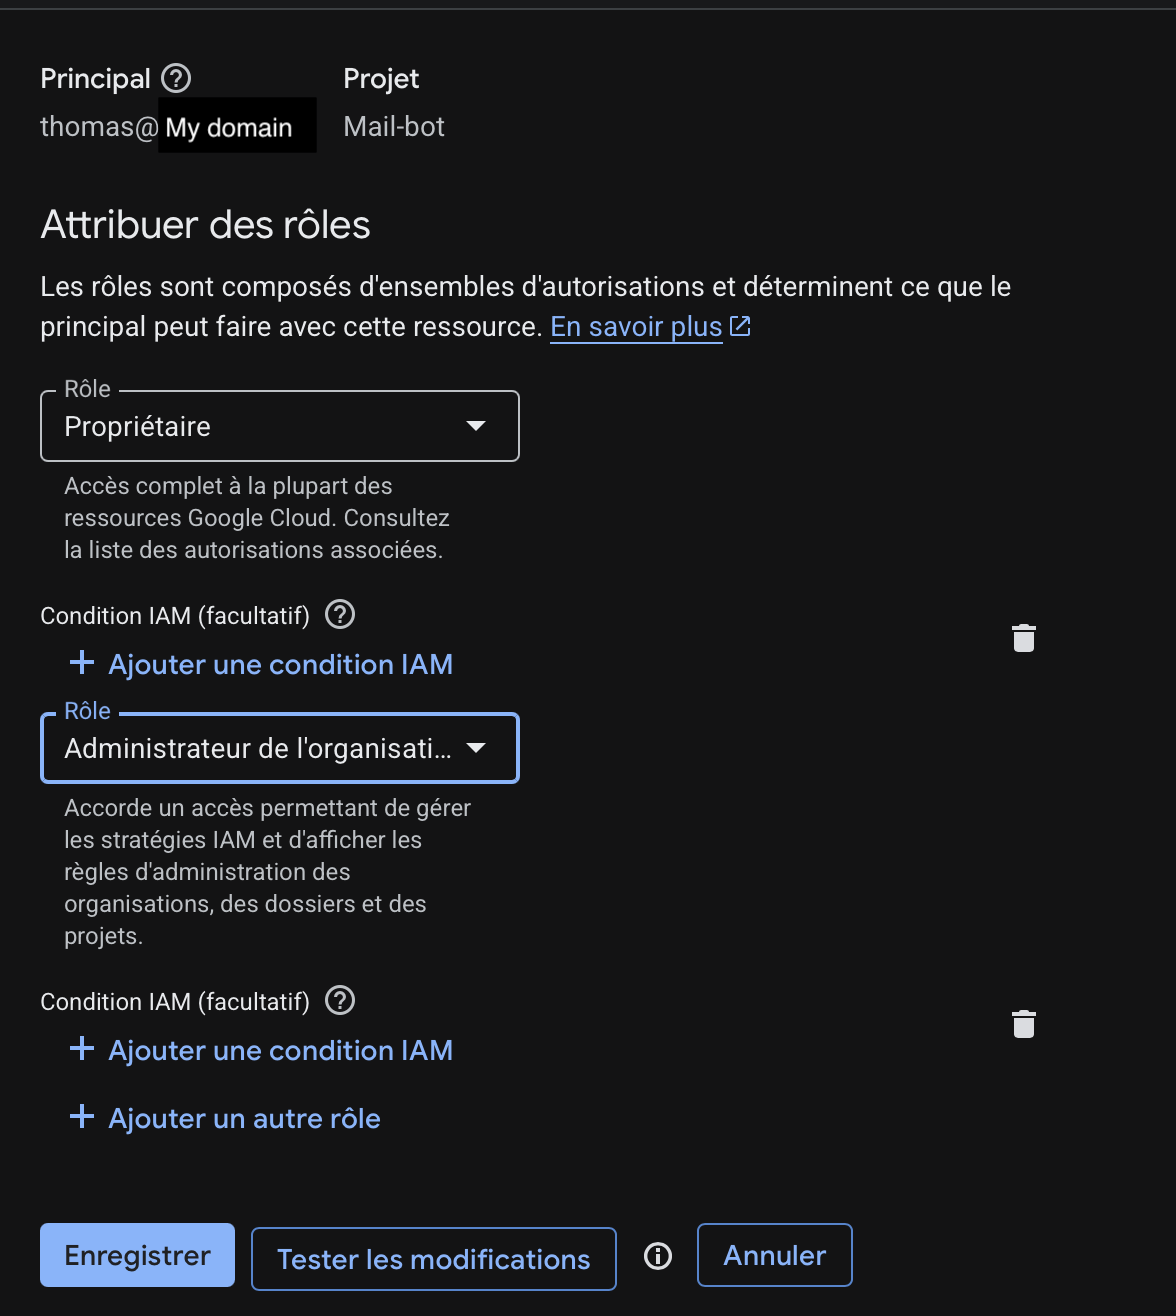
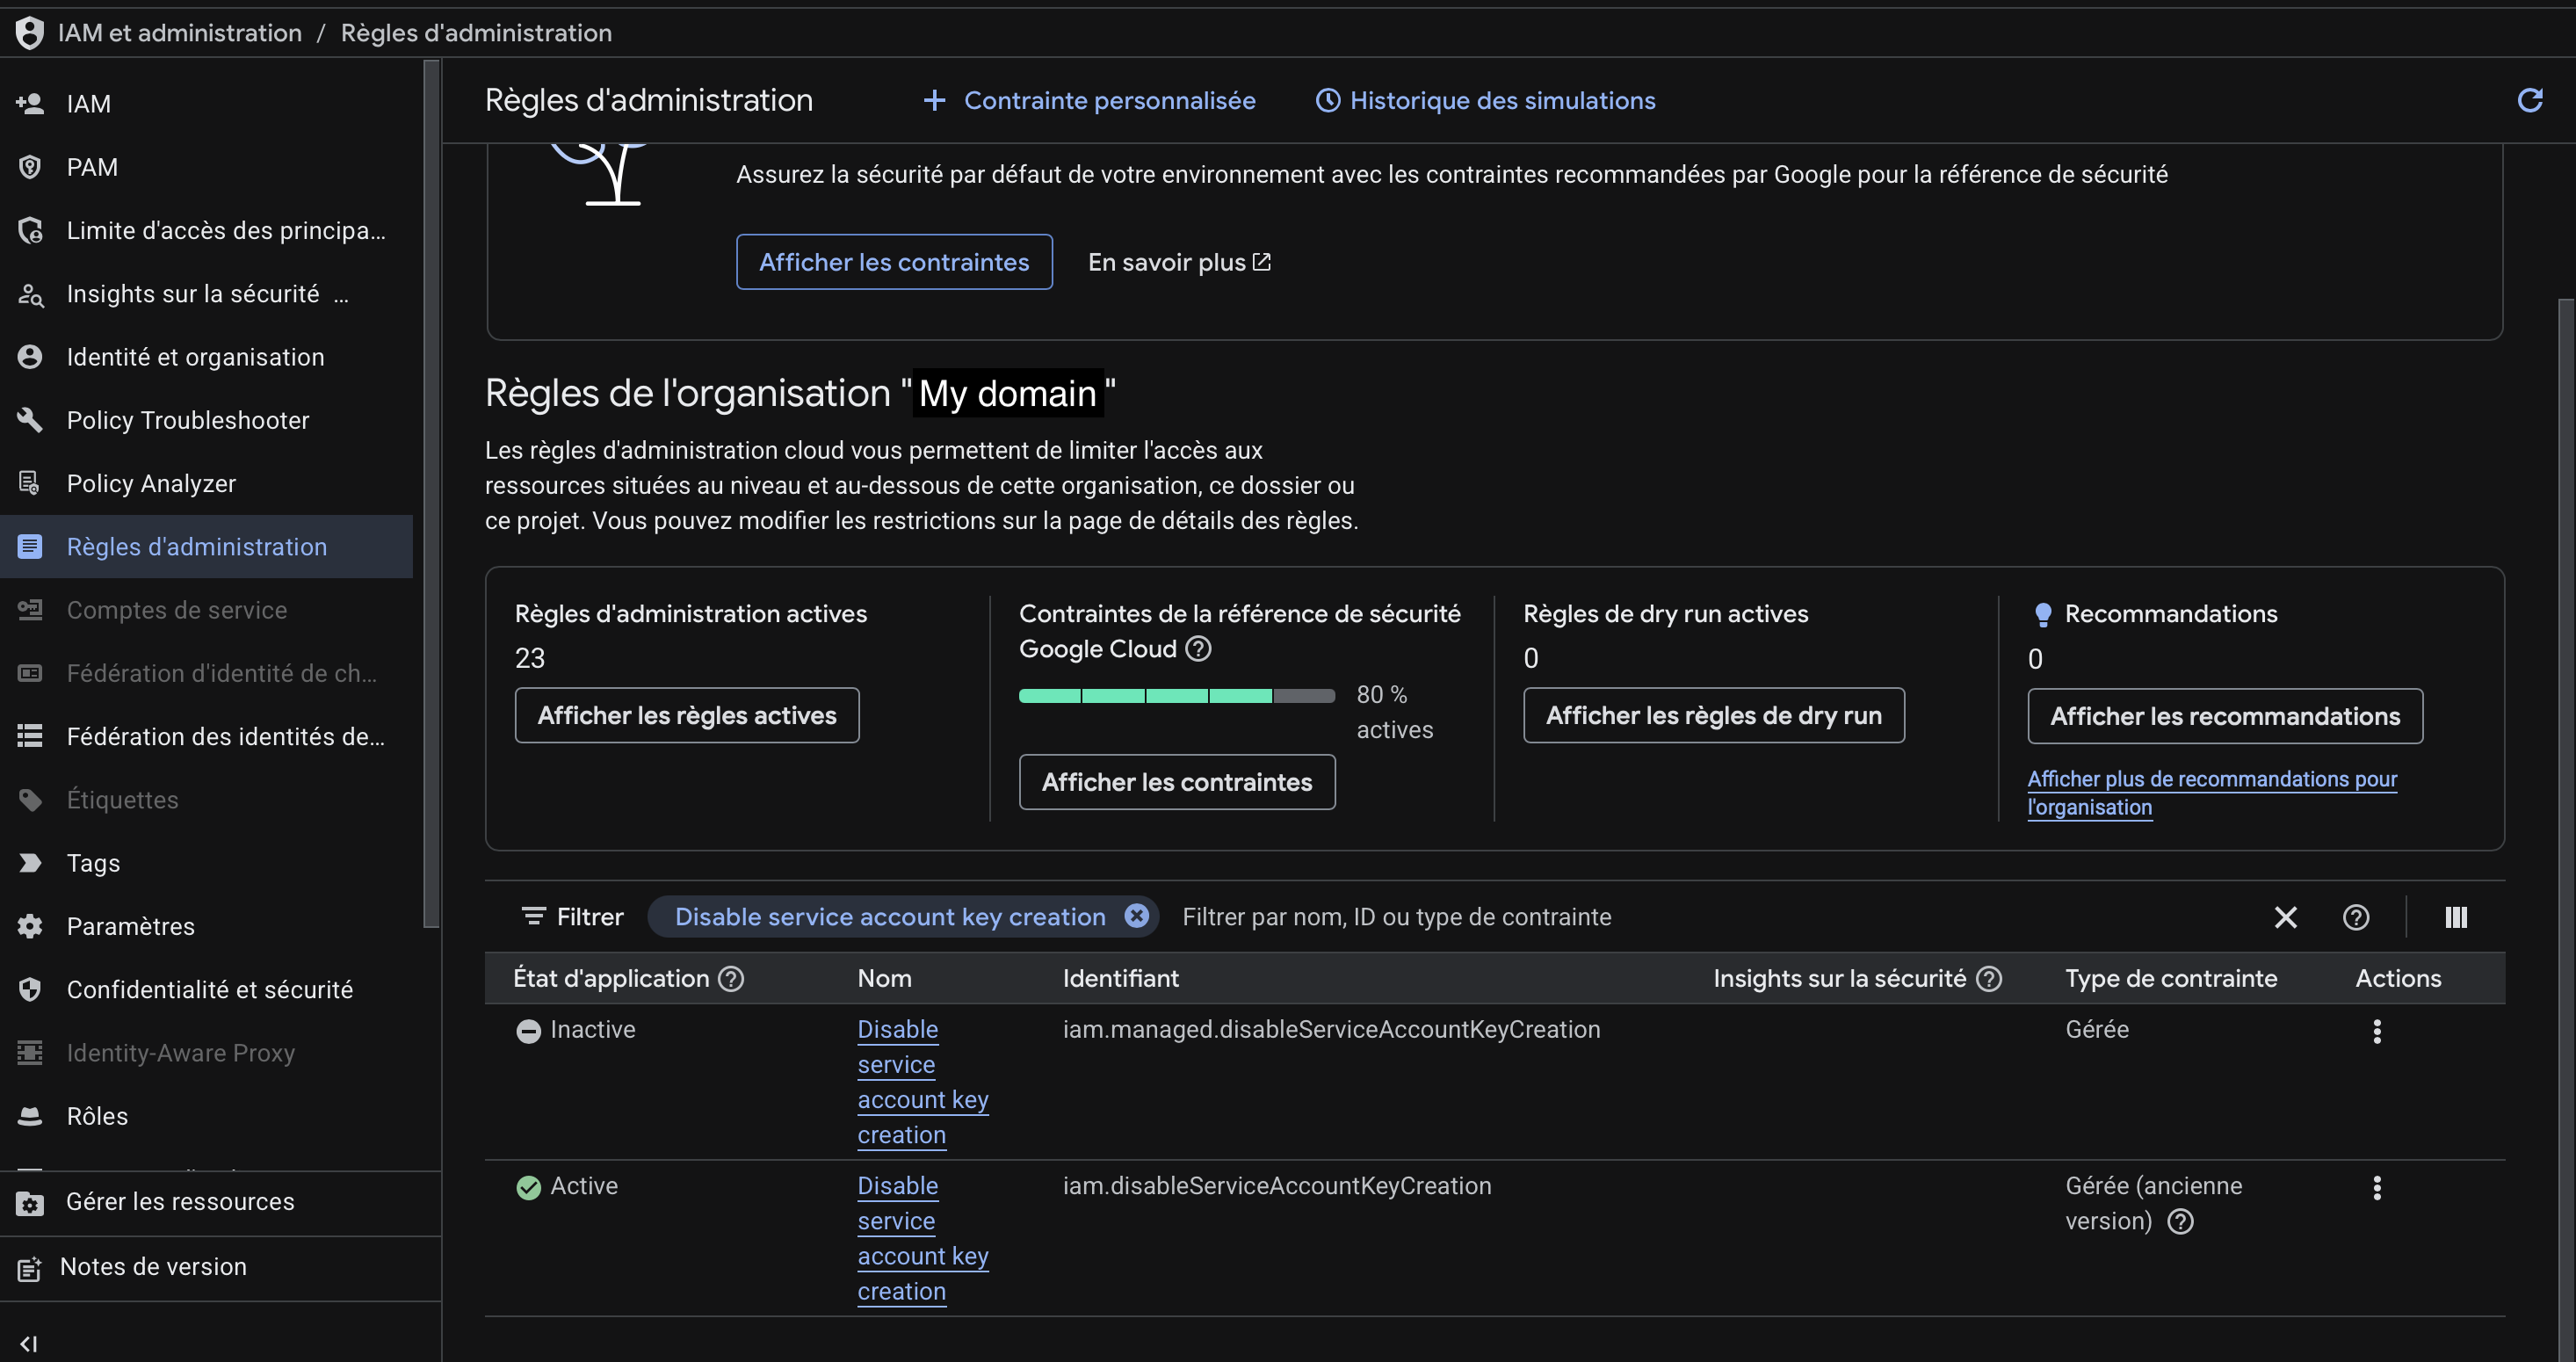
Note: If your organization has a policy that disables service account key creation, you'll need to either disable that policy or create the project outside the organization. I ran into this and had to grant myself the necessary admin roles to modify it.
To do this, select your organization in the project picker, click More actions (the 3 dots) → IAM, and edit your user to add two roles: Organization Policy Administrator and Organization Administrator. Make sure you're at the organization level, not the project level, otherwise the first role won't appear in the list.
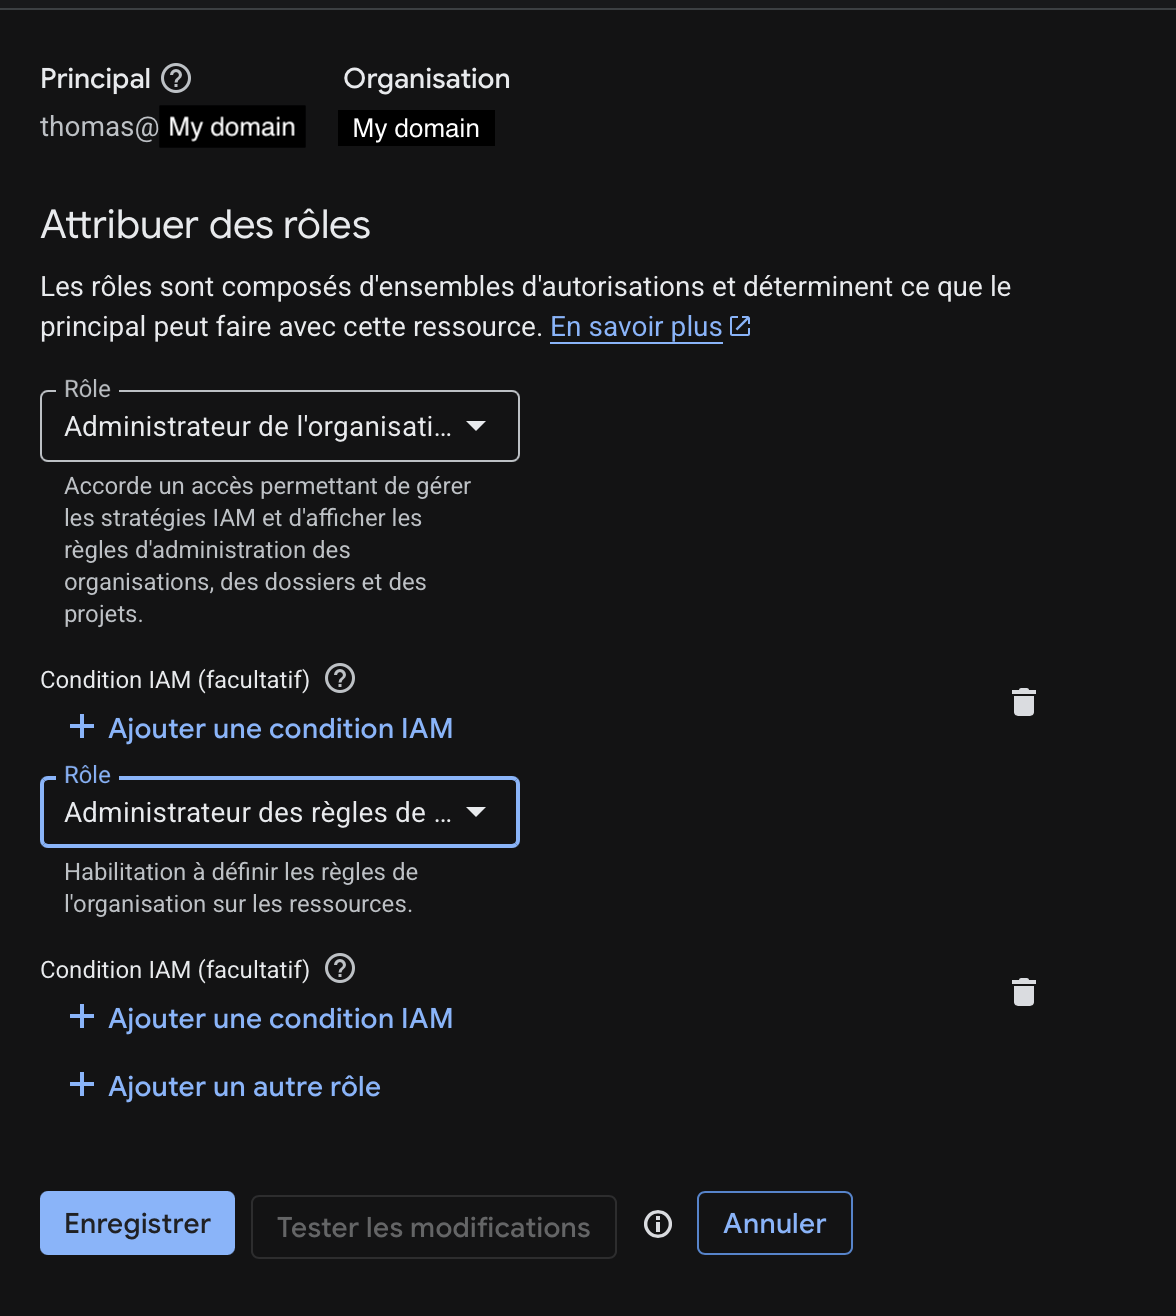
Once saved, go to IAM & Admin → Organization Policies, search for "Disable service account key creation", and disable the constraint.
Setting Up Domain-Wide Delegation
A Service Account alone can't interact with your Workspace users. By default, it only has access to the Google Cloud project it was created in — it has no visibility into your Workspace domain, its users, or their mailboxes. Domain-wide delegation is what bridges that gap: it explicitly authorizes the service account to impersonate a Workspace admin and make API calls on behalf of your domain.
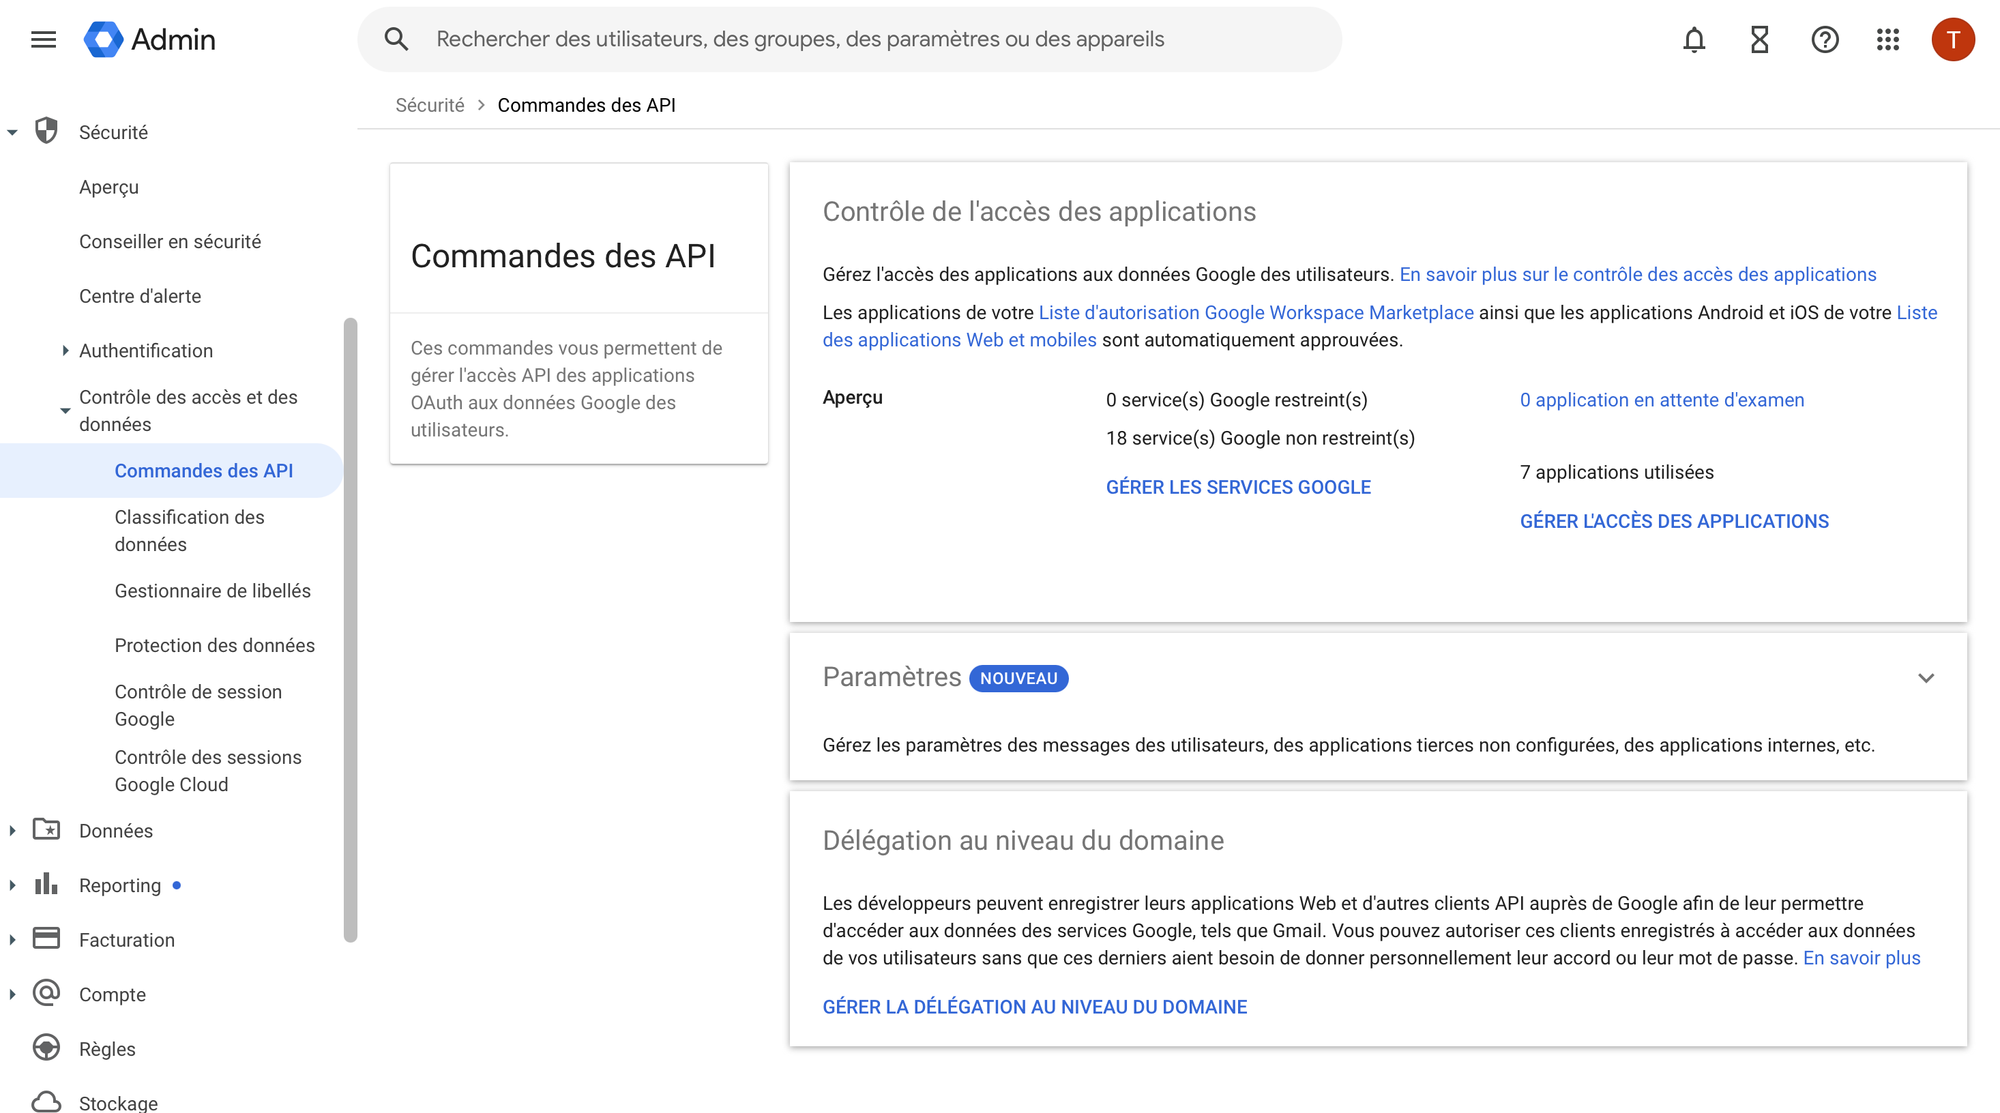
Go to admin.google.com → Security → API Controls, and click Manage Domain-Wide Delegation. This section lists all the service accounts that have been granted access to your Workspace domain, along with the specific API scopes they're allowed to use.
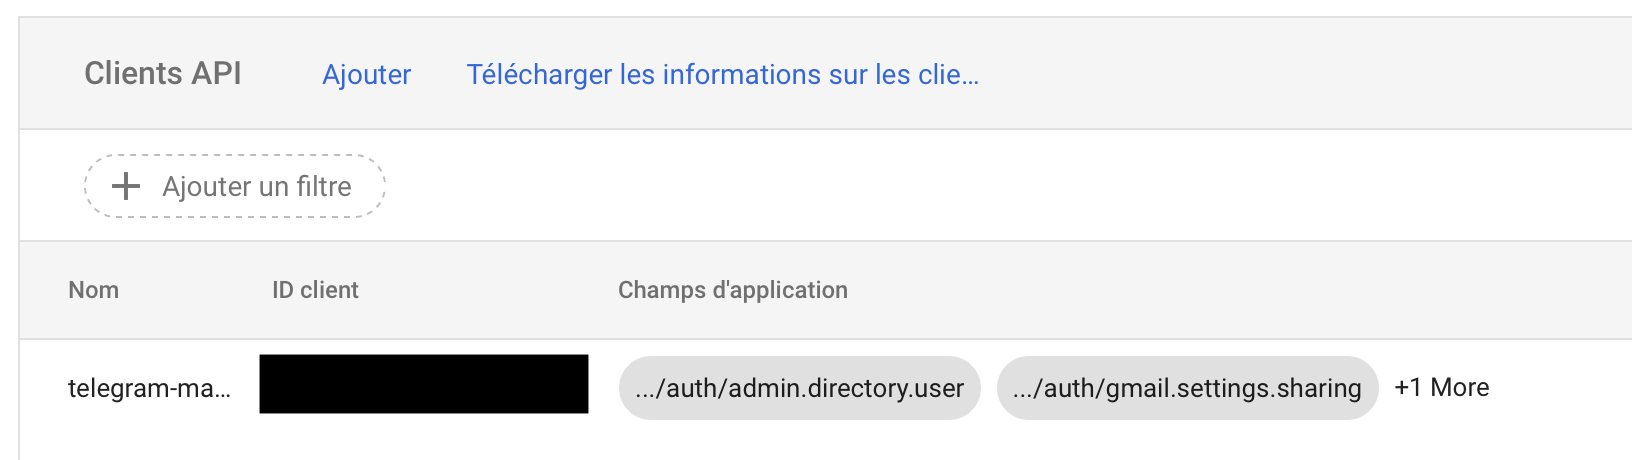
Add a new entry with:
- Client ID: the 21-digit Unique ID from your service account (visible in its details page)
- OAuth Scopes:
https://www.googleapis.com/auth/admin.directory.user,
https://www.googleapis.com/auth/admin.directory.userschema,
https://www.googleapis.com/auth/gmail.settings.sharing,
https://www.googleapis.com/auth/gmail.settings.basic
Once saved, the service account will appear in the list with its authorized scopes.
The Delegated Admin
One important detail: the DELEGATED_ADMIN_EMAIL in the configuration must be a real Super Admin account on your Workspace domain — not the service account's own email address. Even though the service account is the one making the API calls, it needs to impersonate a human admin to have the necessary permissions. Think of it as the service account borrowing the identity of your admin account to act on its behalf.
If you set this to the service account's email by mistake, Google will return a 403 Not Authorized error — which is exactly what happened to me and took a while to debug, since the error message isn't particularly helpful. Make sure the account you use here is a Super Admin on your Workspace domain, not just a regular user or a delegated admin with limited permissions.
Creating the Telegram Bot
Get Your User ID
Before creating the bot, you need your personal Telegram user ID. This is what restricts the bot to only respond to you. Open @userinfobot and tap Start — it will immediately send back your ID.
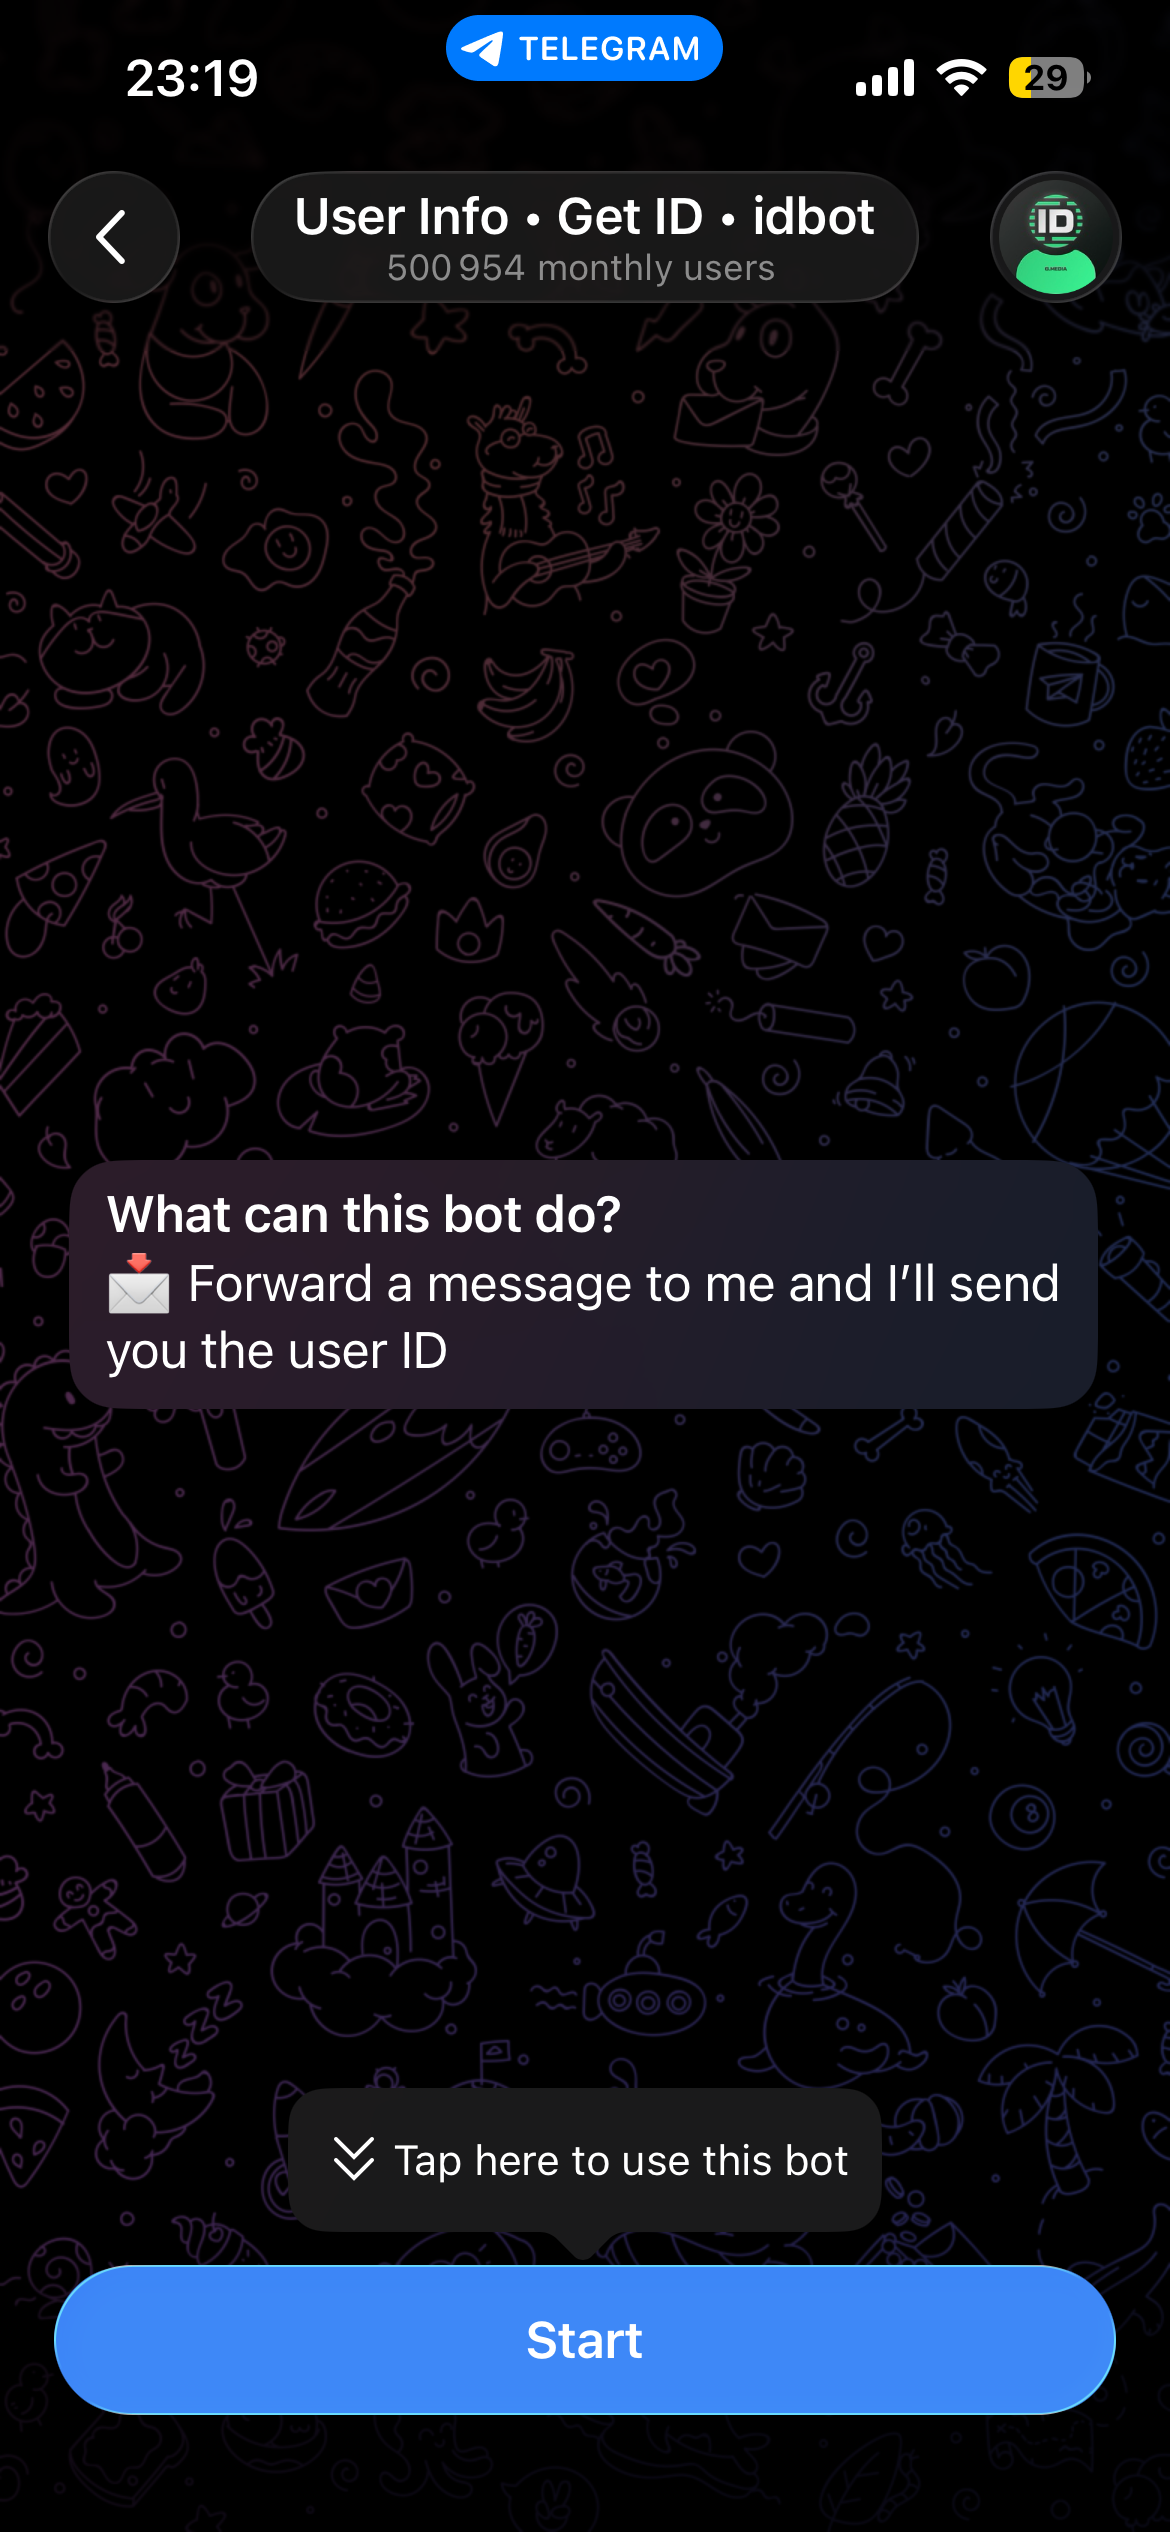
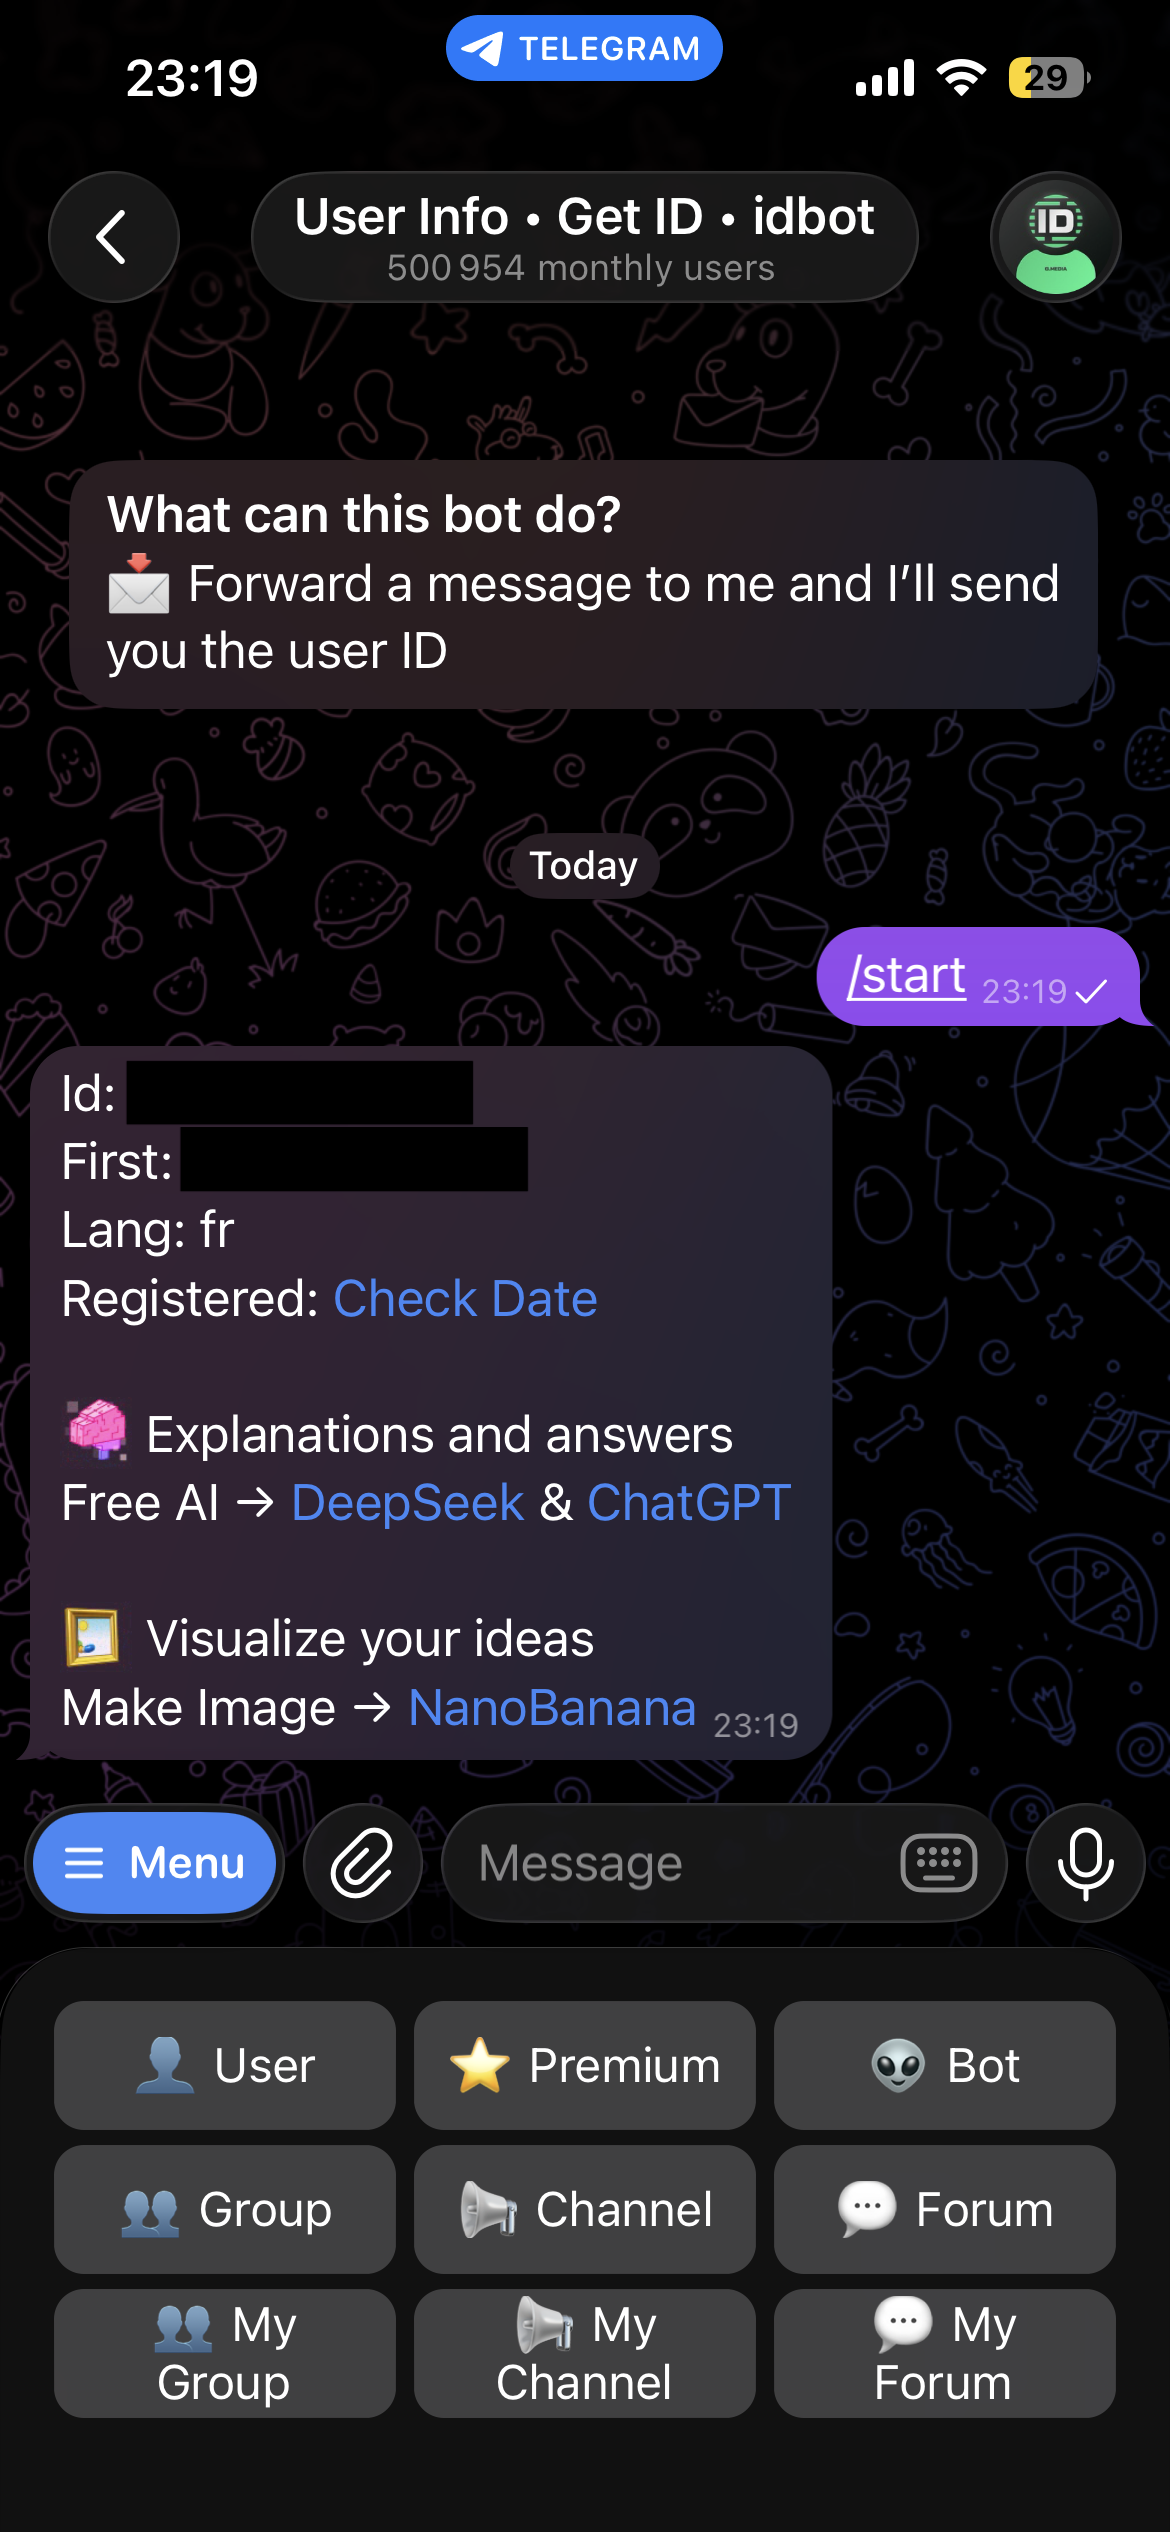
Once you tap Start, the bot replies with your user ID, first name, and language. Copy the number next to Id — that's your AUTHORIZED_TELEGRAM_USER_ID.
Create the Bot
Open @BotFather — the official Telegram bot for managing bots.
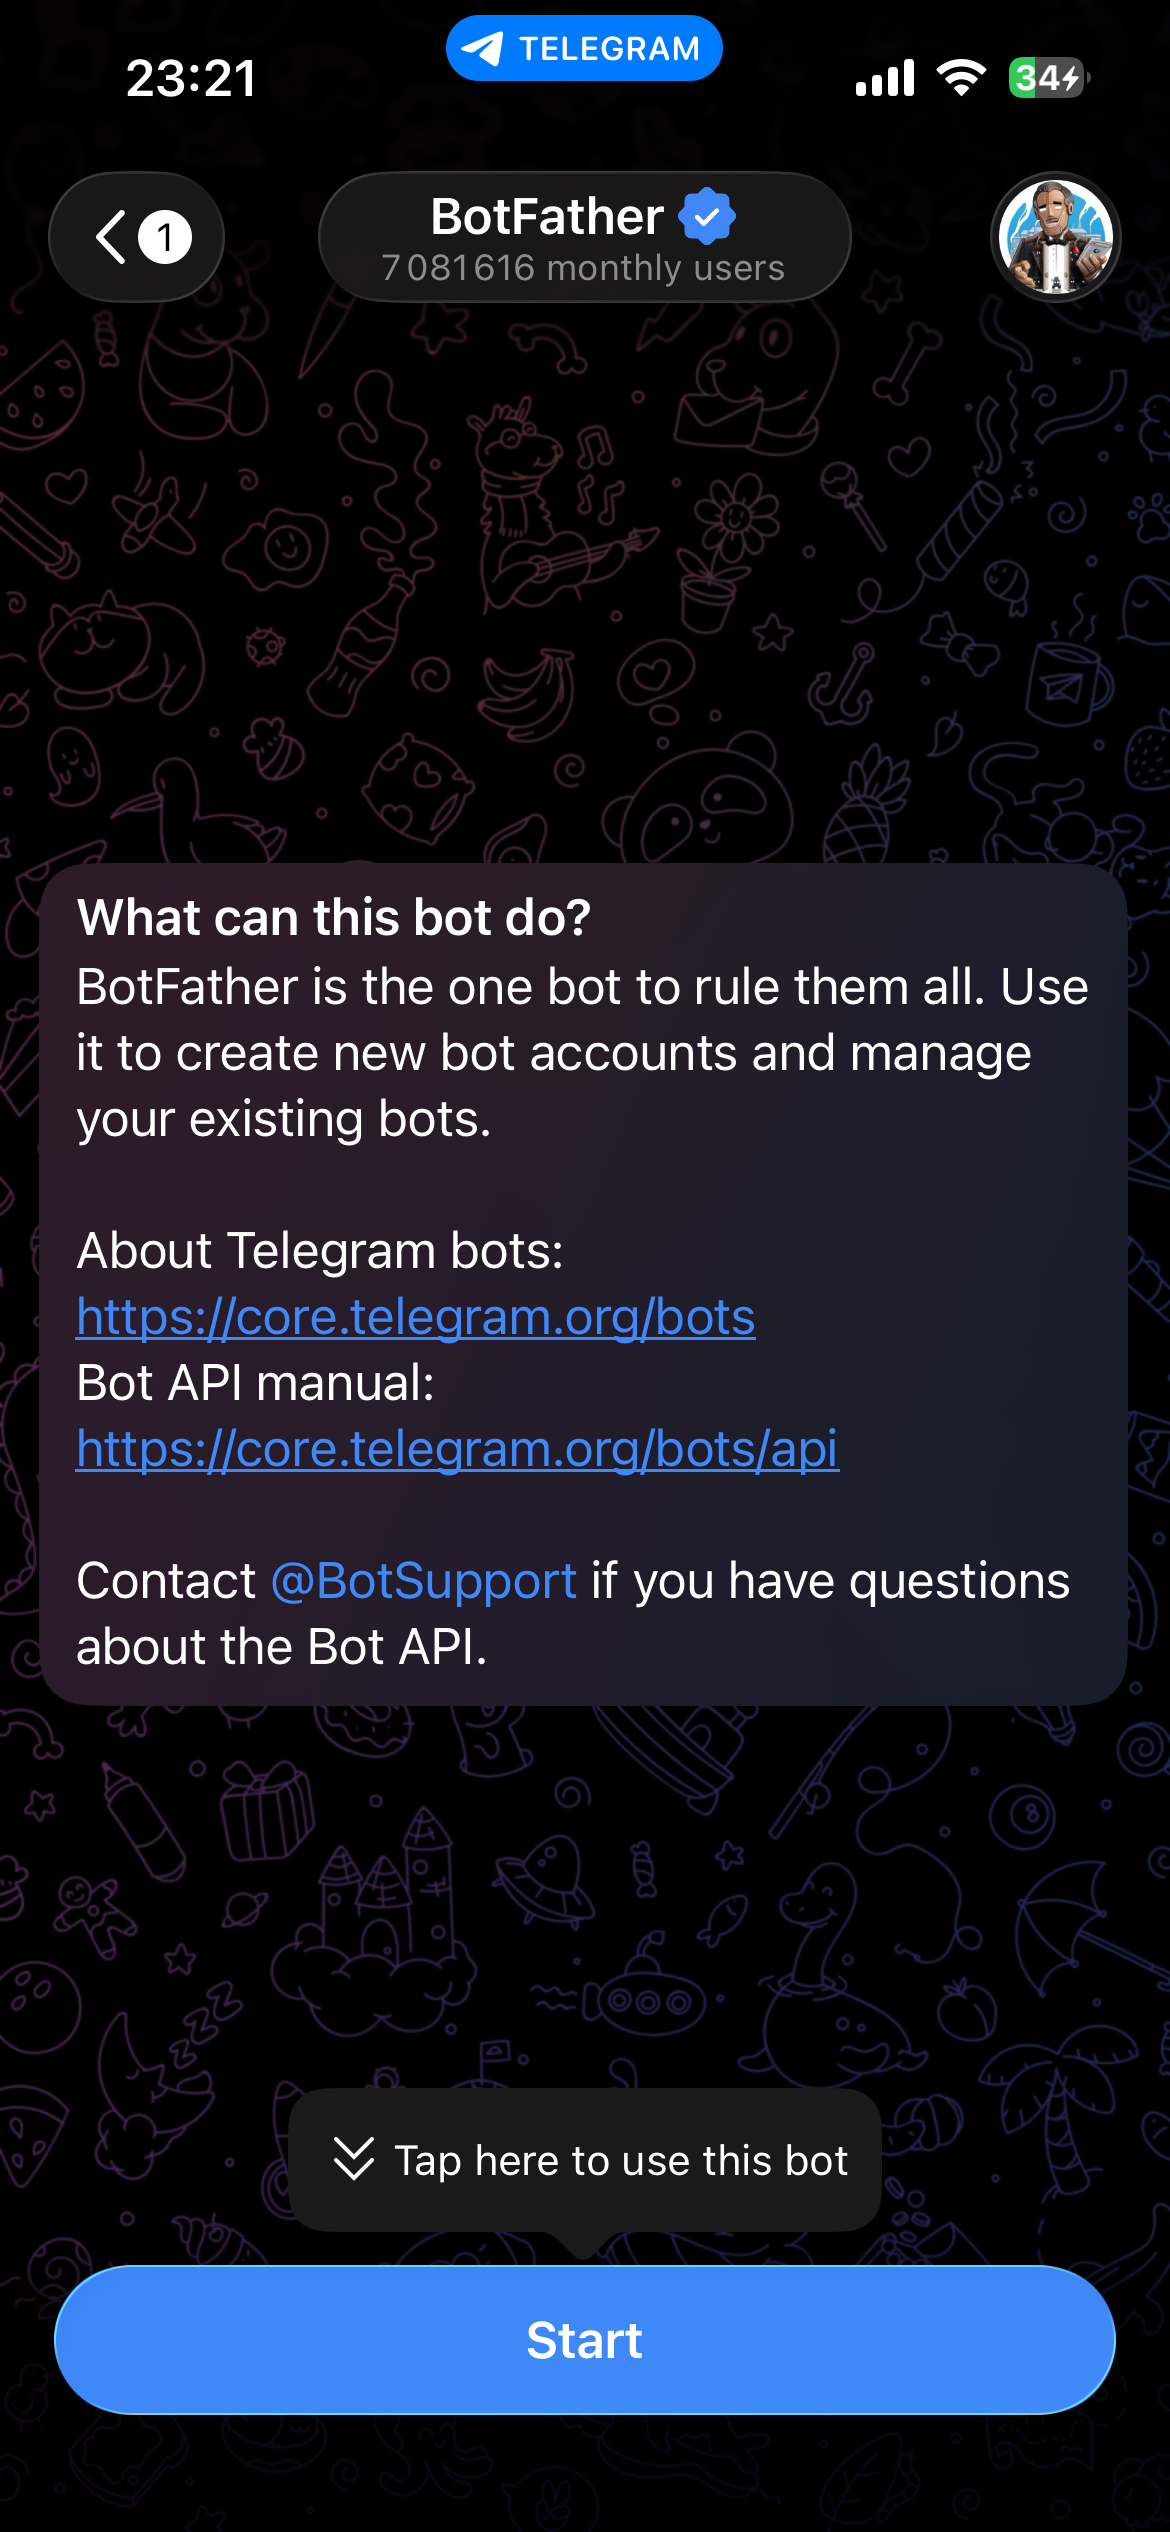
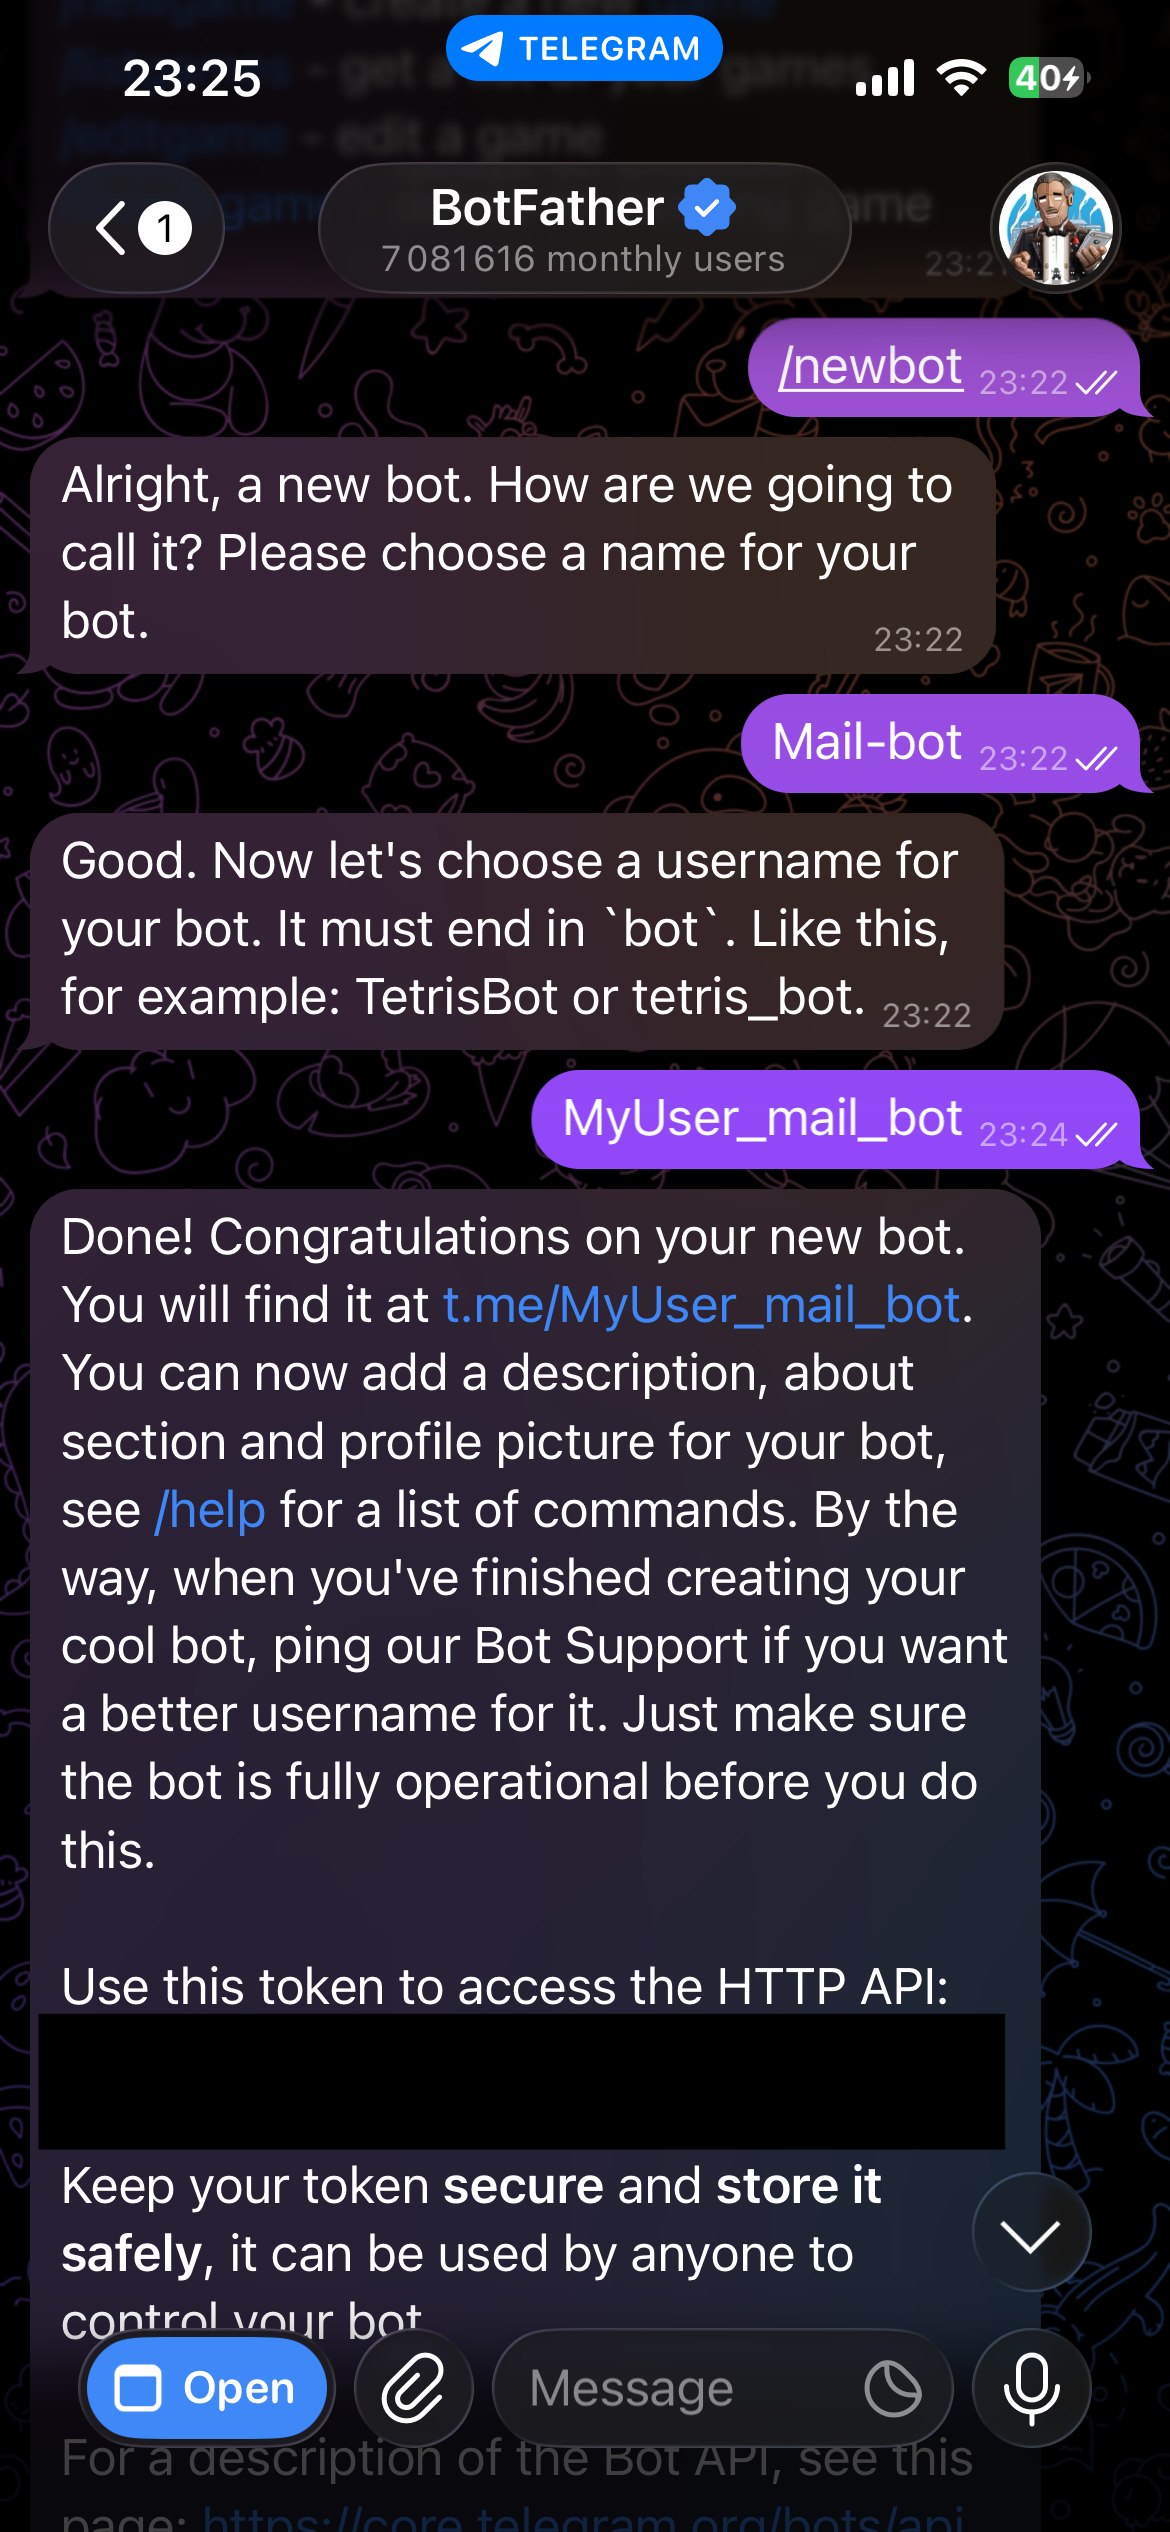
Send /newbot, choose a name and a username (must end in bot), and BotFather will give you the HTTP API token. Store it in your .env file as TELEGRAM_BOT_TOKEN, and keep it secure, anyone with this token can send messages and commands as your bot.
One thing worth mentioning: the bot registers its commands automatically on startup via set_my_commands, so the / menu in Telegram always reflects the available commands without any manual BotFather configuration. No need to go back to BotFather every time you add or rename a command.
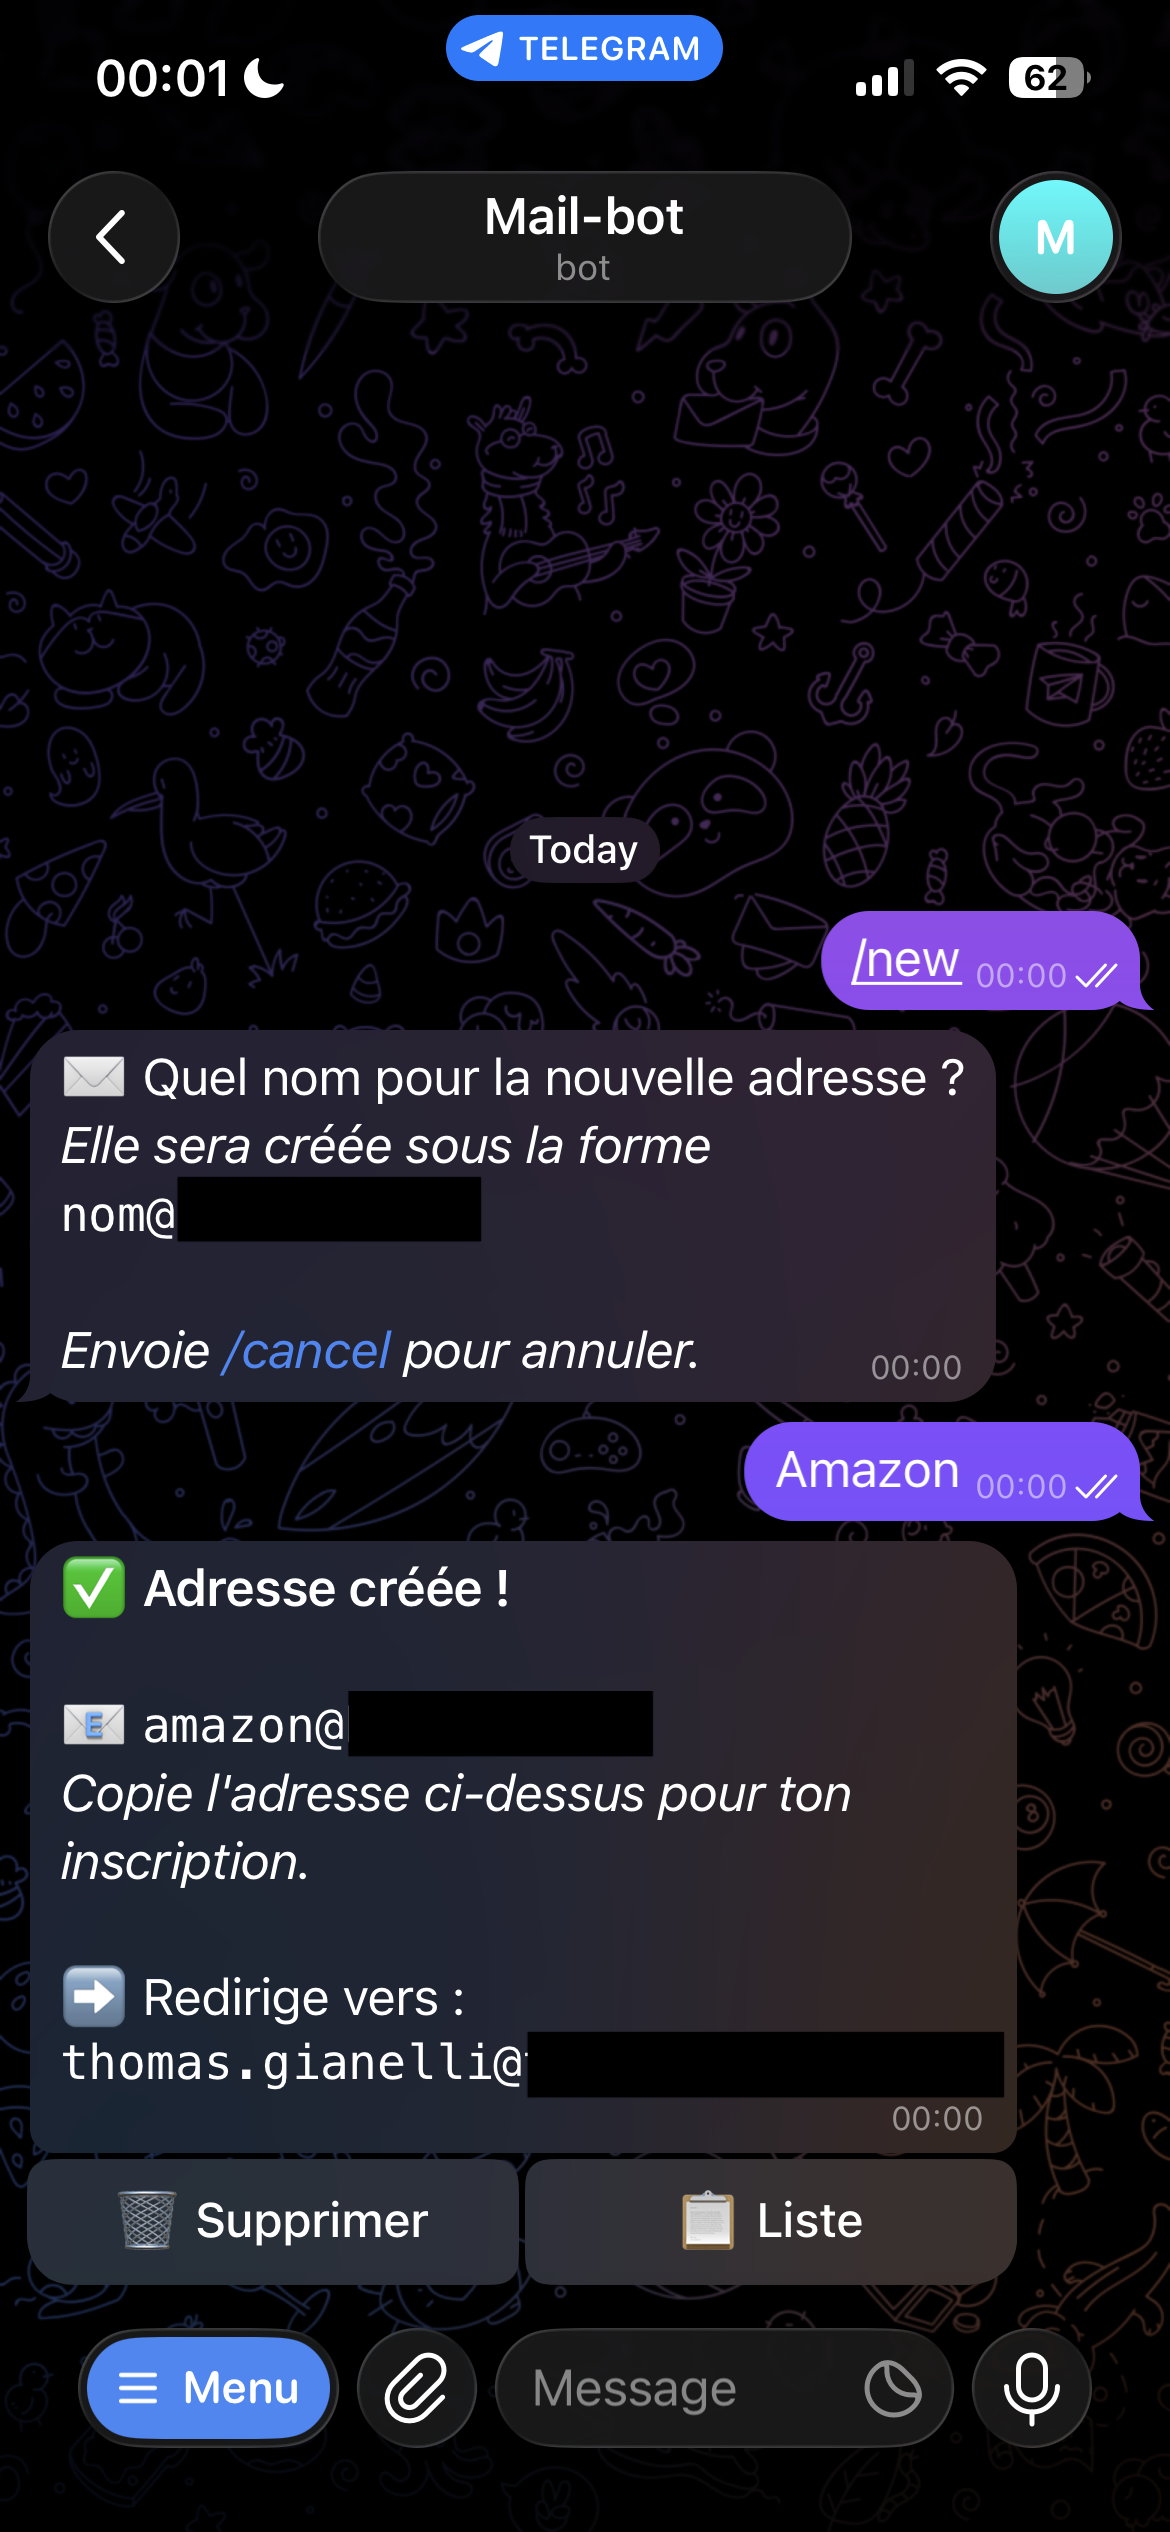
The /new command uses a two-step conversational flow: instead of passing the alias name as an inline argument like /new amazon, the bot asks for it in a follow-up message and waits for your reply. It feels more natural on mobile and avoids having to remember the exact command syntax.
You:  /new
Bot:  What name for the new address?
You:  amazon
Bot:  ⏳ Creating [email protected]...
      ⏳ Forwarding configuration in progress...
      📨 A confirmation email has been sent — you have 2 minutes to validate
Bot:  ✅ [email protected] → [email protected]
The Forwarding Confirmation
The tricky part is that Gmail requires email confirmation before activating a forward to an external address. This is a security measure built into Gmail — when you add a forwarding address, Google sends a confirmation email to the destination and won't activate the forward until you click the verification link. There's no way to bypass this programmatically, even with a service account.
To work around this, the bot sends the forwarding request and then polls Gmail every 10 seconds to check whether the forward has been confirmed, retrying up to 15 times — giving you roughly 2 minutes to open the confirmation email and click the link. If the 2 minutes run out without confirmation, the bot will time out: the alias account will have been created on your domain, but emails won't be forwarded to your inbox until you confirm. In that case, you'll need to delete the alias and run /new again.
Configuration
All sensitive values are stored in a .env file:
TELEGRAM_BOT_TOKEN=123456789:ABC-def...
AUTHORIZED_TELEGRAM_USER_ID=123456789

GOOGLE_DOMAIN=yourdomain.com
[email protected]
[email protected]
SERVICE_ACCOUNT_FILE=service_account.json
MAIN_EMAIL can be any email address — it doesn't have to be on the same domain as the disposable addresses.
Deployment
The bot runs in a Docker container on my server. Every push tomain automatically builds and pushes the image to GitHub Container Registry via GitHub Actions.
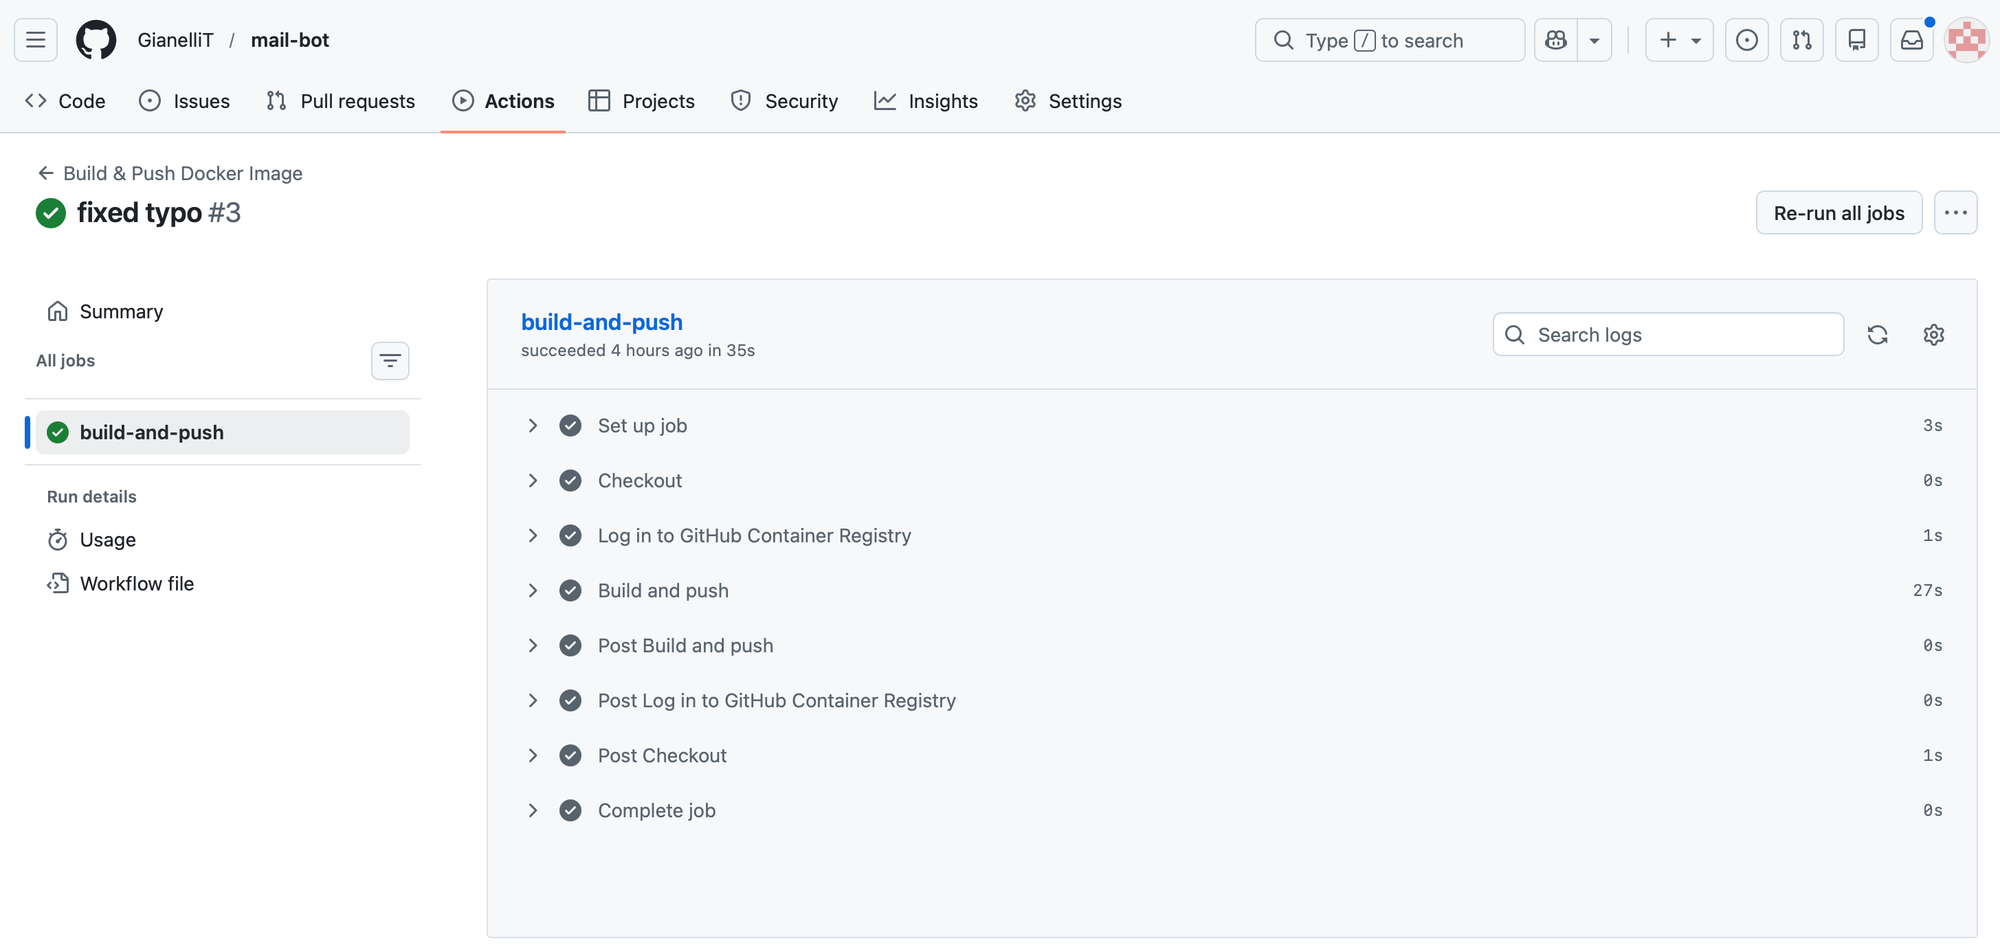
The workflow requires no secrets configuration — it uses the built-in GITHUB_TOKEN that GitHub provides automatically.
To update the bot on the server after a push:
docker compose pull && docker compose up -d
The .env and service_account.json files are never included in the image — they're mounted into the container at runtime from the server.
If you want to run this yourself, you have three options:
- Run it locally — clone the repository and run the bot directly with Python. The simplest way to test it.
- Build your own image — useful if you want to make changes to the code before deploying.
- Use my pre-built image — the quickest option if you just want to get it running. Pull the latest image directly from GitHub Container Registry using the
docker-compose.ymlbelow.
services:
  mail-bot:
    image: ghcr.io/gianellit/mail-bot:latest
    container_name: mail-bot
    restart: unless-stopped
    env_file: ./mail-bot/.env
    volumes:
      - ./mail-bot/service_account.json:/app/service_account.json:ro
      - ./mail-bot/data:/app/data
Just create a mail-bot/ folder next to your docker-compose.yml, add your .env and service_account.json inside it, and run docker compose up -d.
Demonstration
Here's what the full flow looks like in practice. When you send `/new`, the bot asks for the alias name and waits for your reply. Once you send it, the bot creates the Workspace user and sets up the forwarding — this part takes a minute or two in the background while it waits for the Gmail confirmation to be validated. The screenshots below show the result once everything is confirmed.
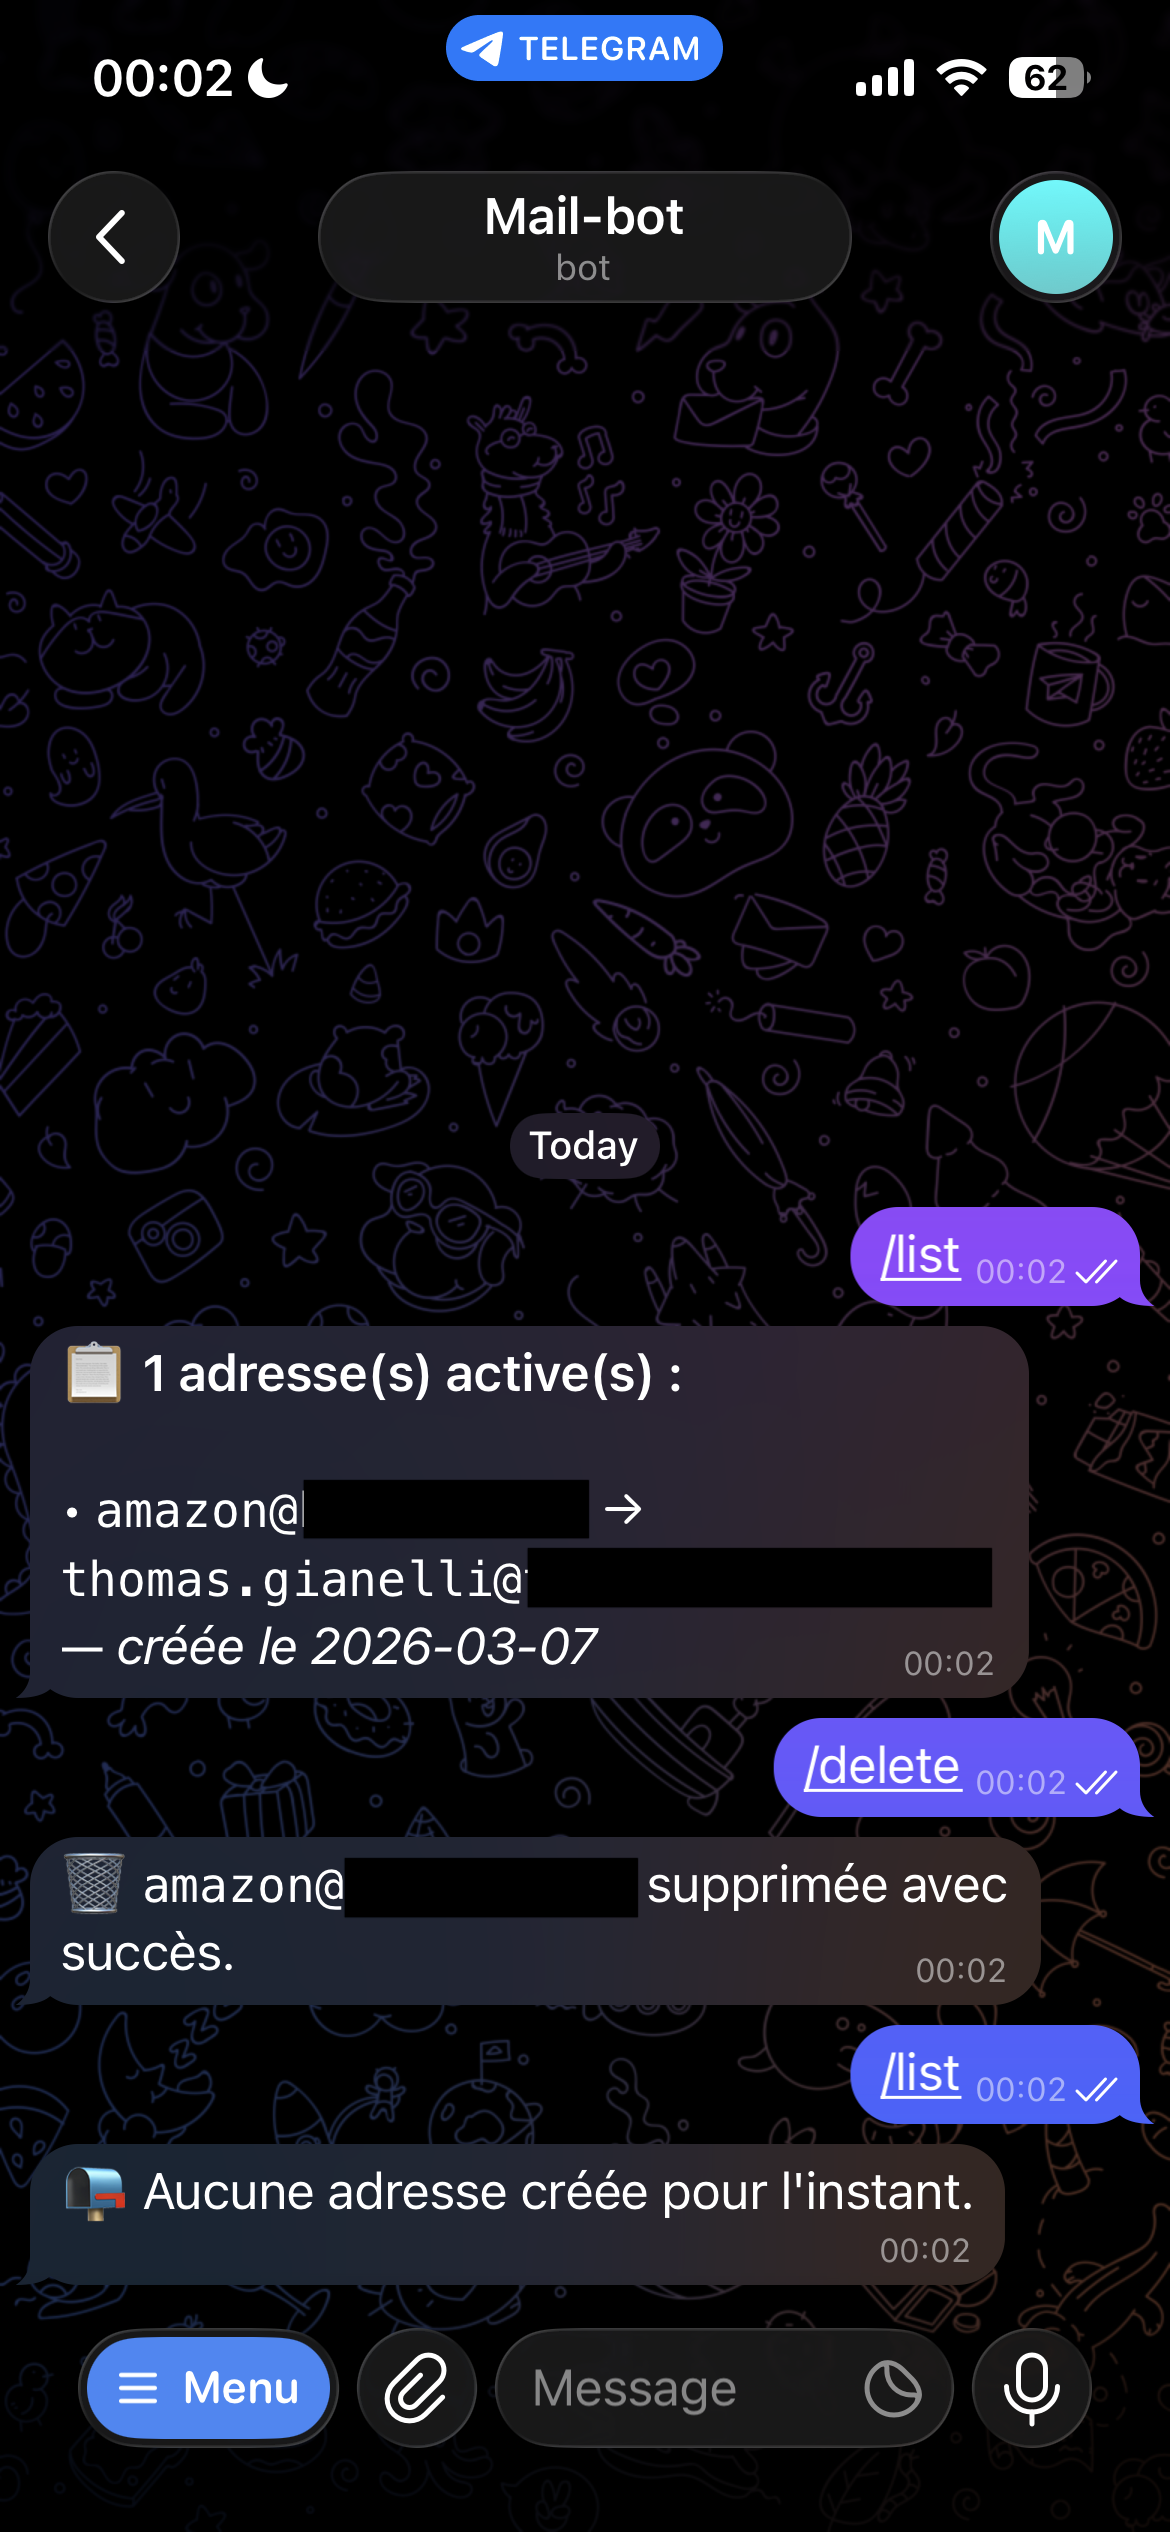
From there you can use `/list` to see all your active aliases, and `/delete` to remove one. The deletion is instant — the Workspace user is removed and emails sent to that address will simply bounce.
Conclusion
Building this bot turned out to be more involved than I initially expected — mostly because of the Google API permission model, which requires several layers of configuration before anything works. But once everything is in place, the result is exactly what I wanted: a simple, self-hosted tool that lets me create and delete email aliases in seconds, without depending on any third-party service.
If you have a Google Workspace domain and want the same setup, the full source code is available on GitHub with a complete setup guide in the README. The only real requirements are a Workspace domain, a server to run the container, and a bit of patience with the Google Cloud console.
Credits


Service account key creation is disabled
by u/MidgardDragon in googleworkspace